San Antonio Family Photography
As a mom of an energetic, quick-moving, almost-3-year-old, I understand how difficult it can be to take decent, every-day photos of your family.
With Ethan, taking photos of him smiling at the camera has always been hard. He would not look at the camera and would not smile. The last few months have been a little better and I’ve been able to catch more smiles.
(I want to do a whole blog about unposed photos, but for now, this blog will focus more on the technical aspects of taking better photos of your family. I tried to stick to the basics because I can tend to go off on all the details. Hope it helps!)
Here are three tips to take better family photos:
- Use portrait mode on your smartphone camera,
- Get up close, and
- Edit on Instagram.
Camera + Composition
You don’t necessarily need an expensive DSLR camera.
My mom loved taking photos when I was younger, and has albums and albums of printed photos. She bought an expensive camera (at that time, it was film) and only used it a few times. Granted, smart phones didn’t have a good camera at that time. But this is not the 2000s, and I know you have a smartphone, so that’s exactly what you can use.
Many people ask me “How do you get the blurry background on your photos?” In short, my DSLR camera allows me to change the aperture or f-stop to a low number like 1.2-1.8.
To bypass the technical details, I recommend using the portrait mode on iPhone 8 plus or whichever other smartphones have this setting, which gives you the same bokeh effect. The key with this mode is to get close to your subject aka your child.
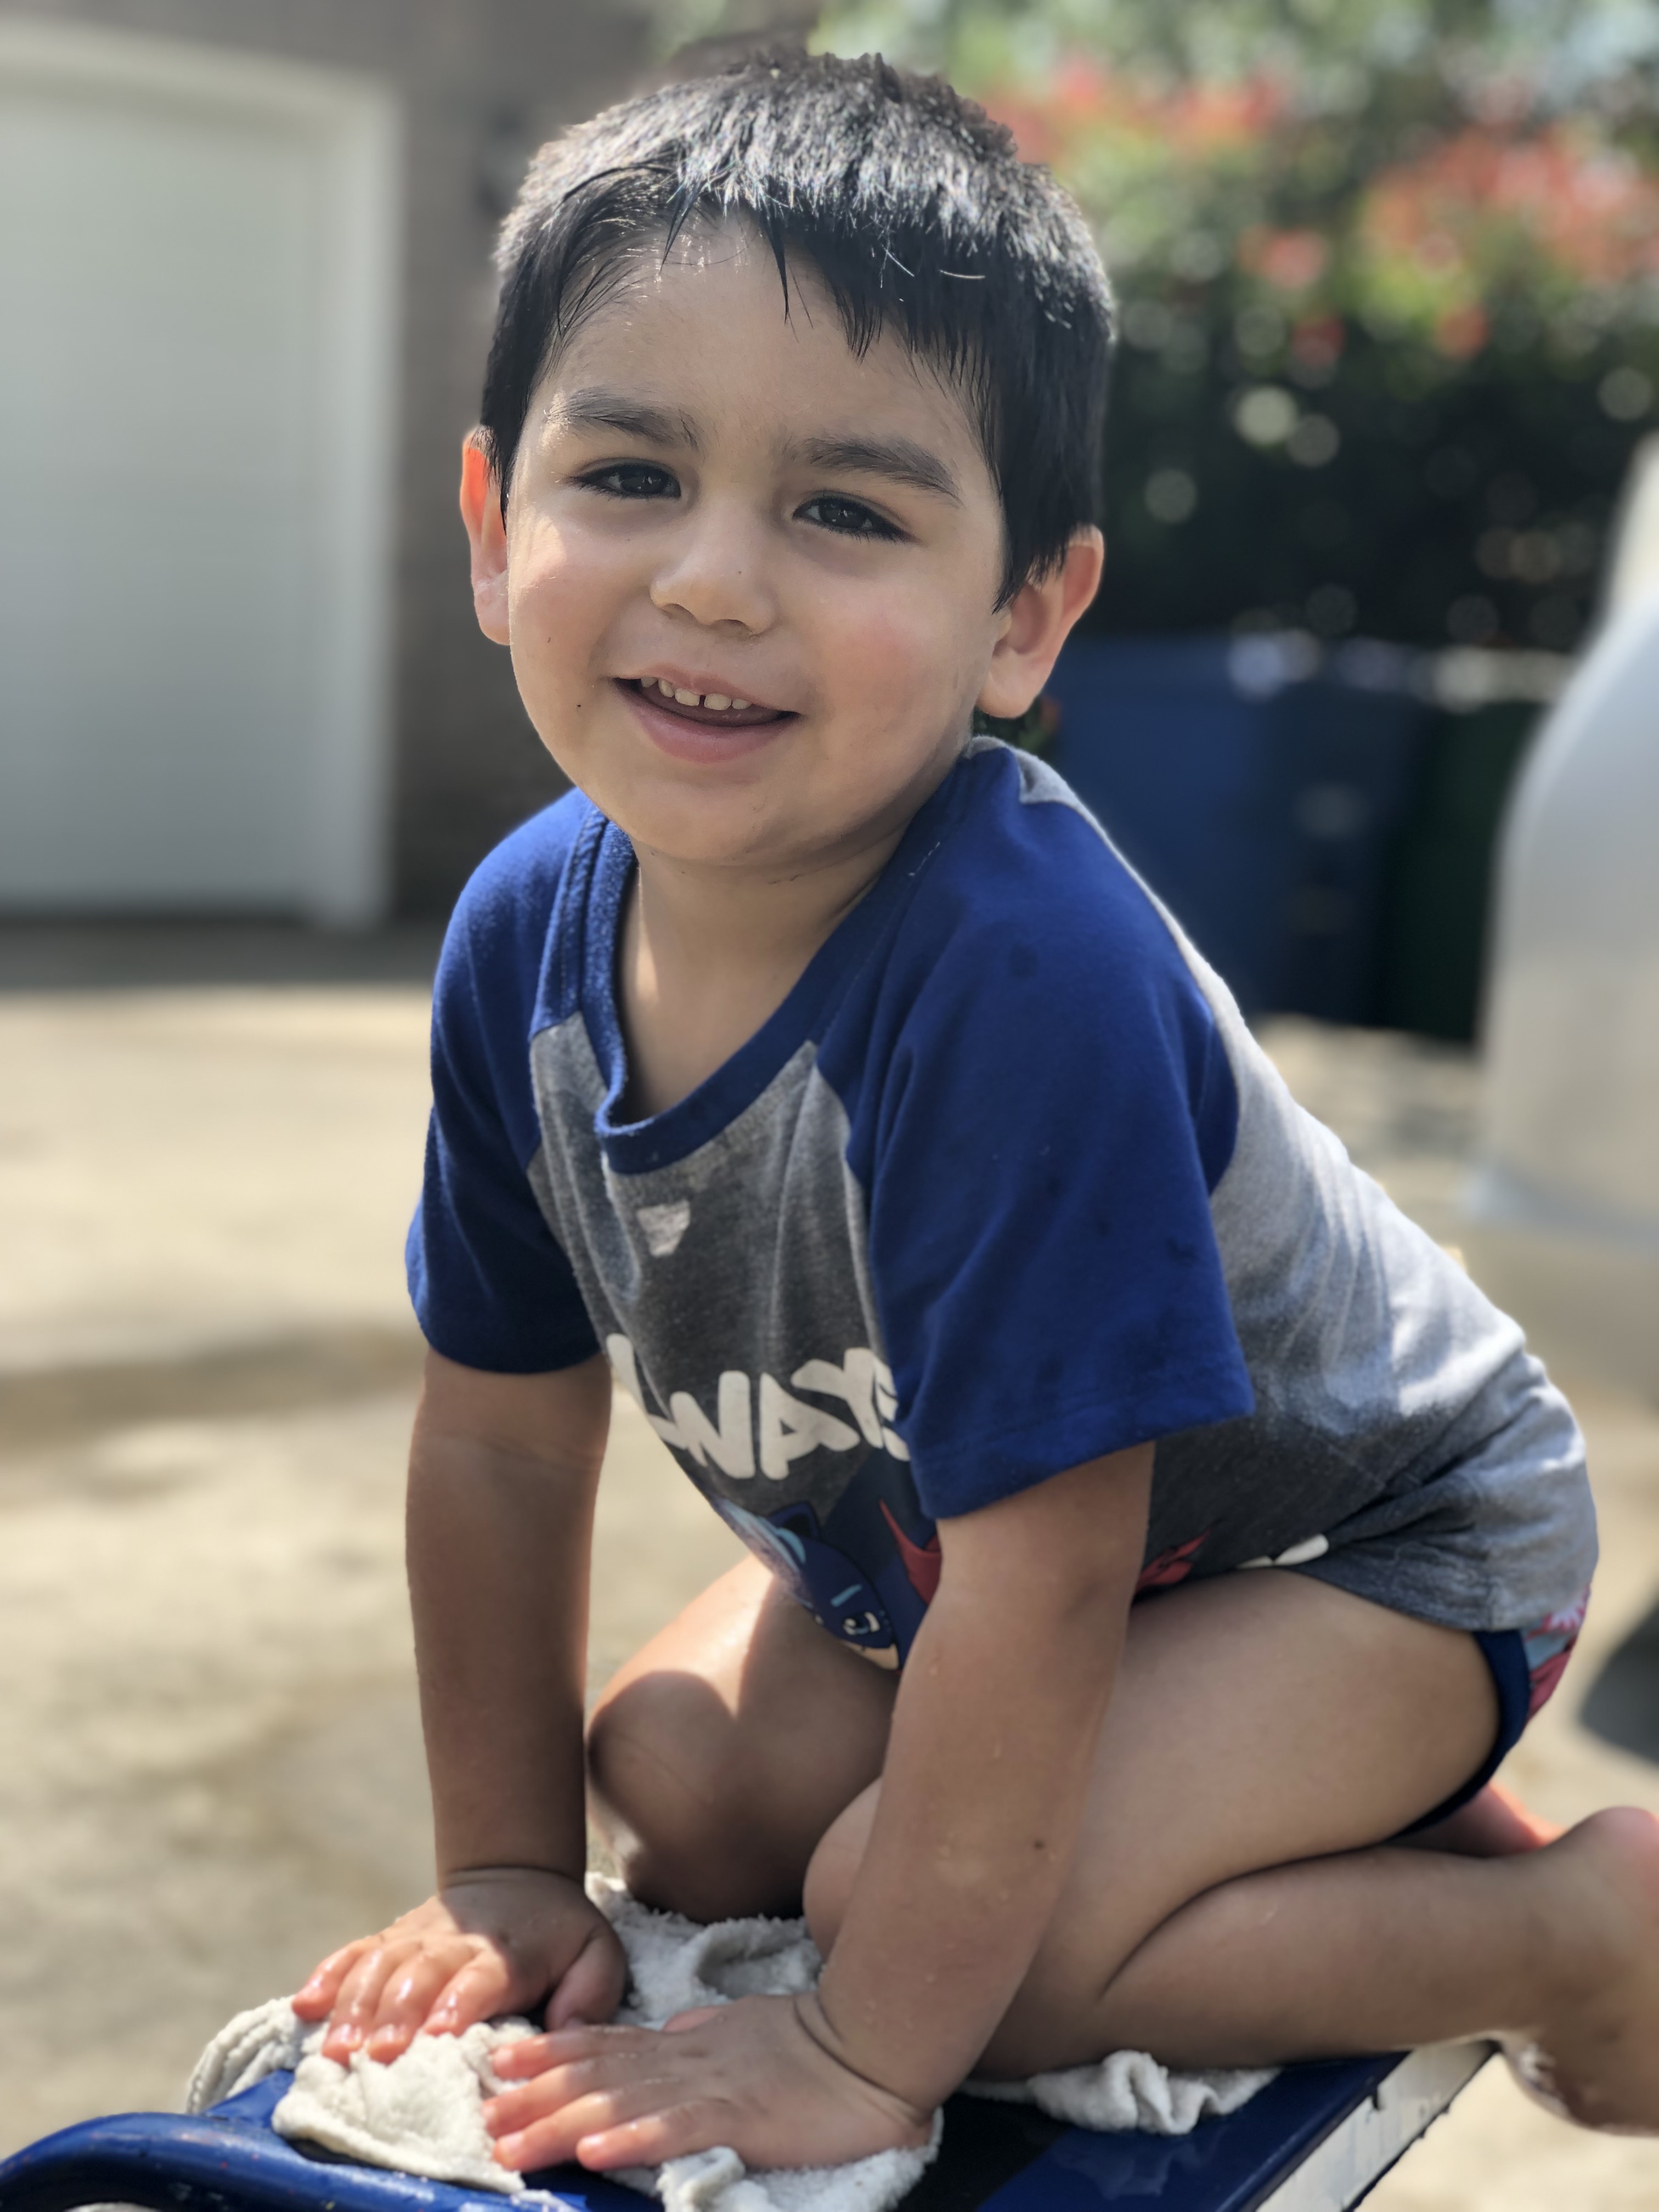
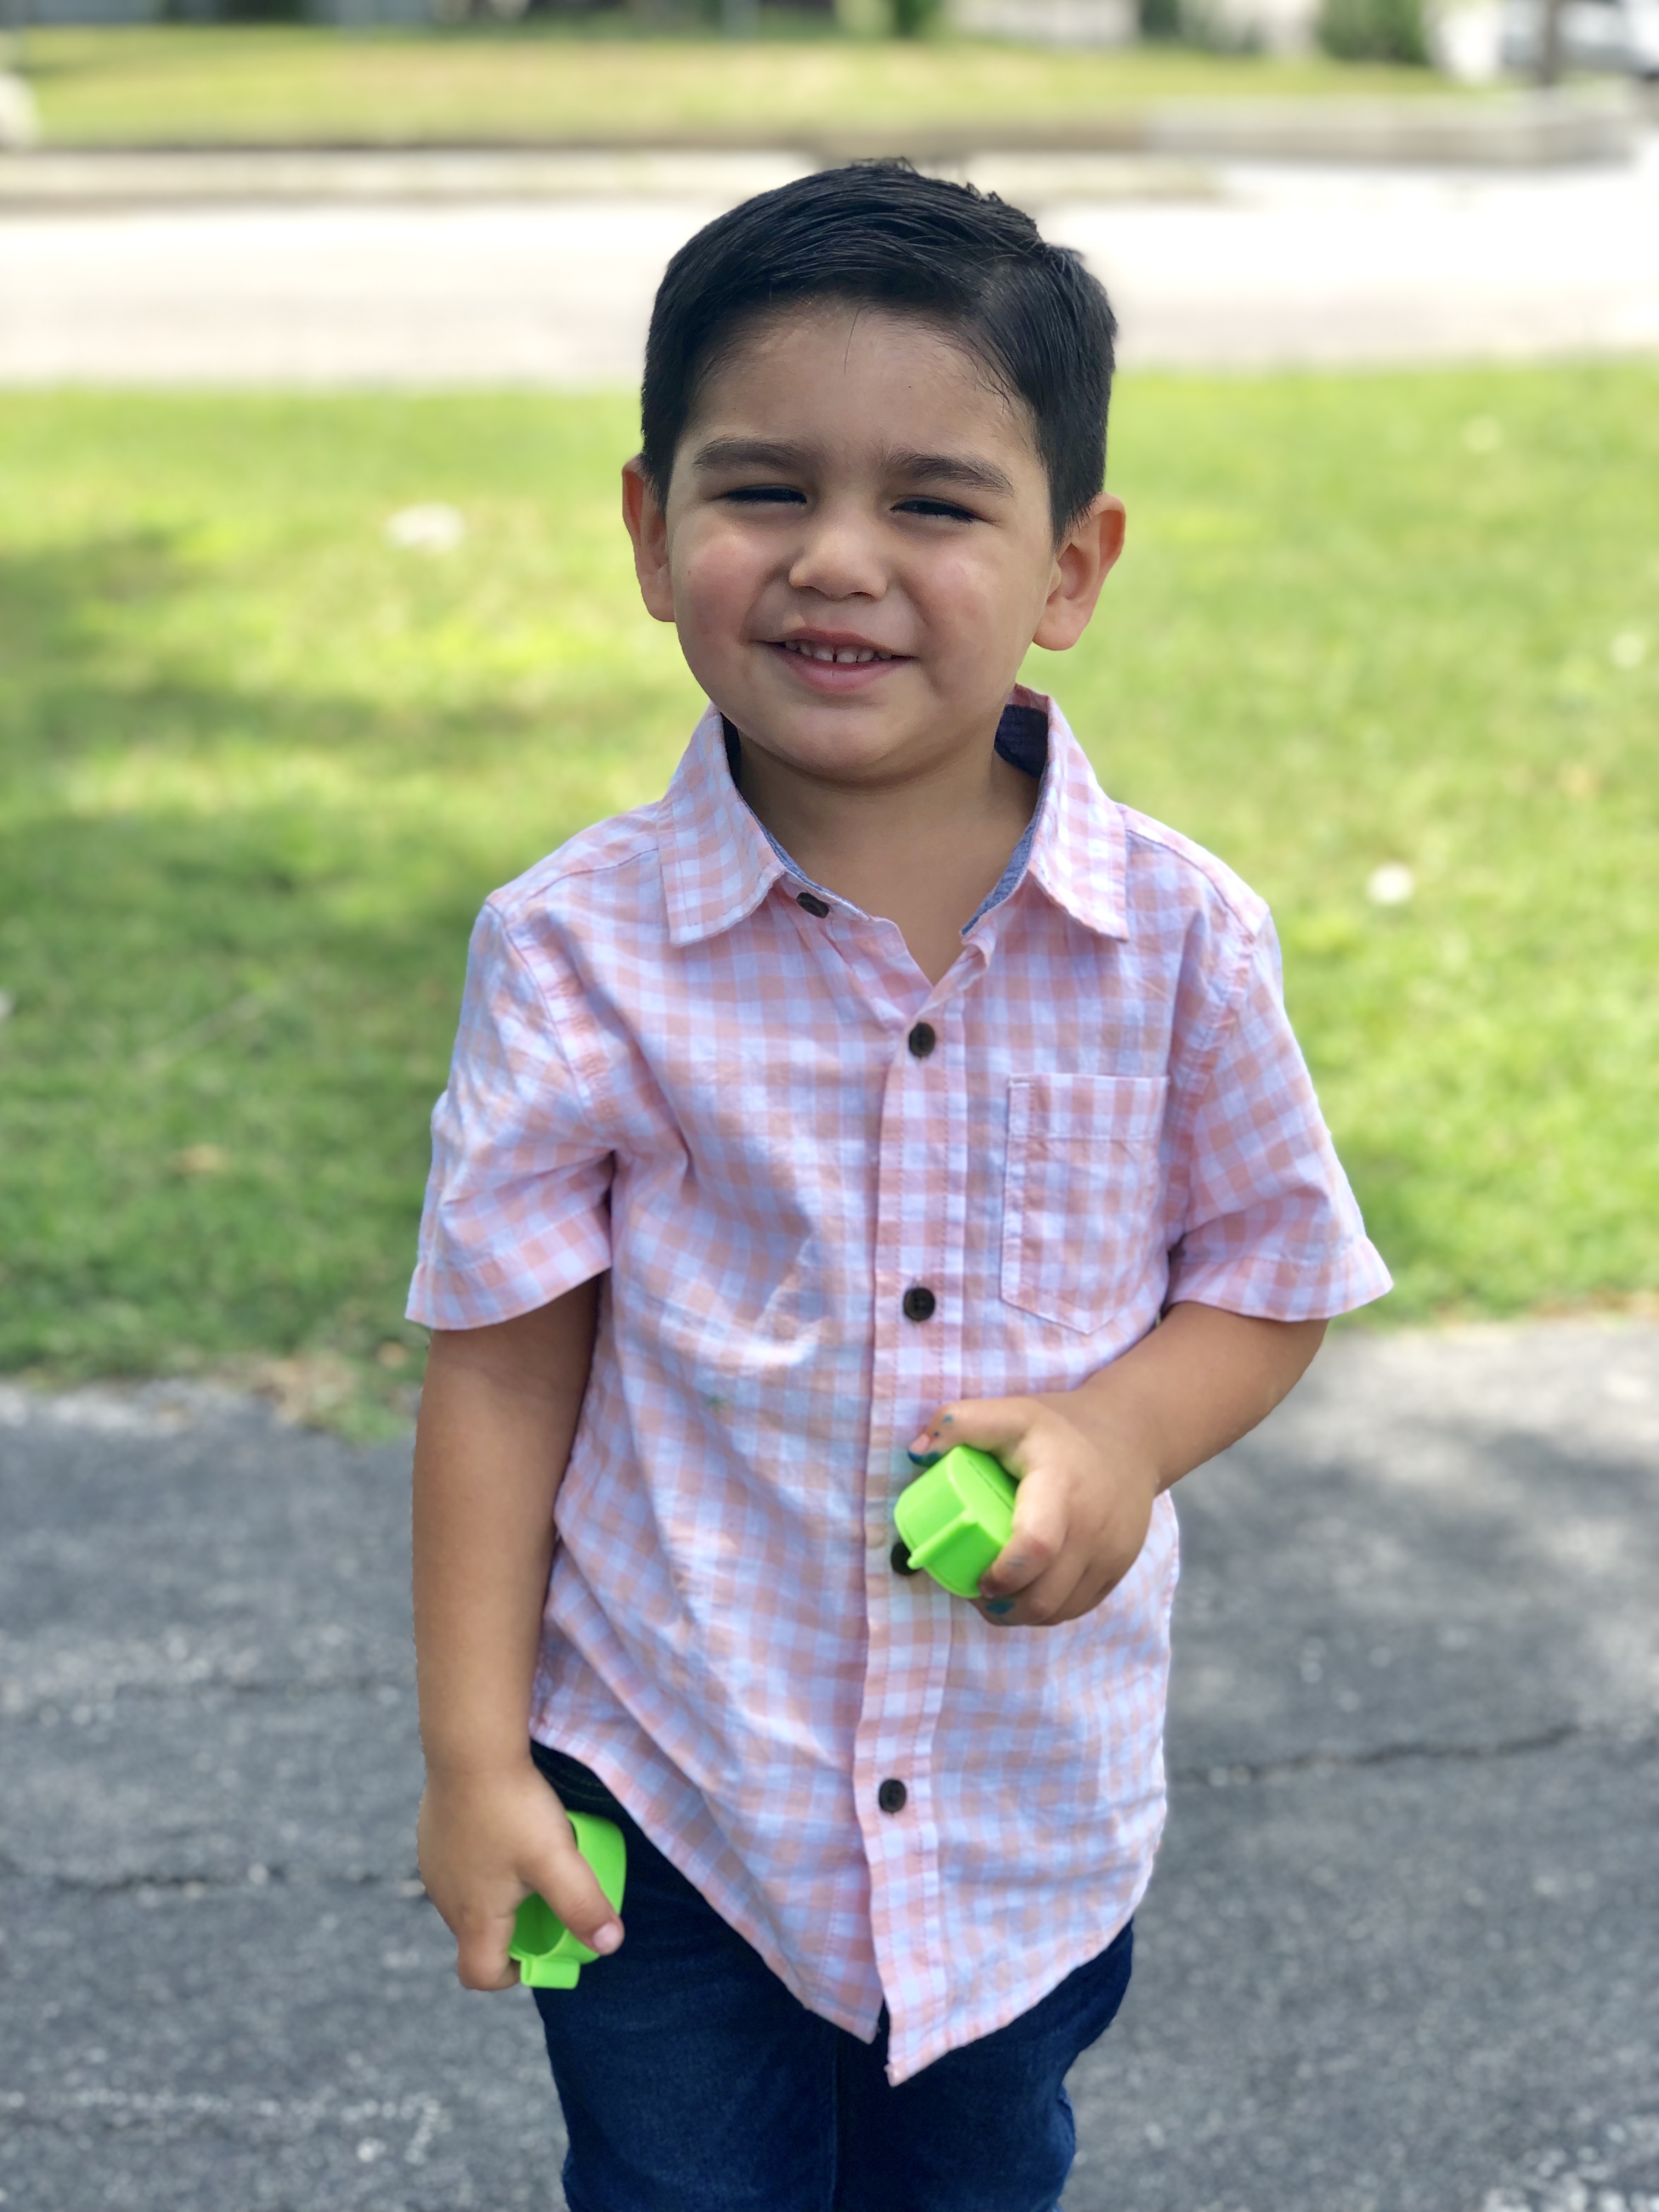
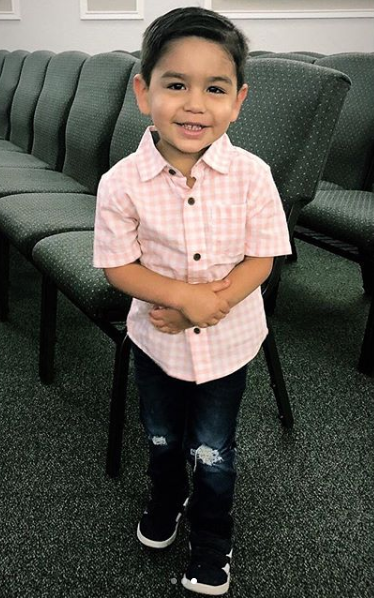
There are many instances when I’m using portrait mode and I get that weird cutout look especially around the hair (see pictures below).
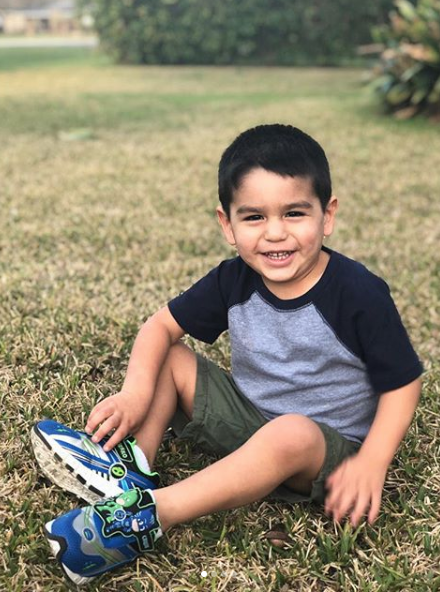
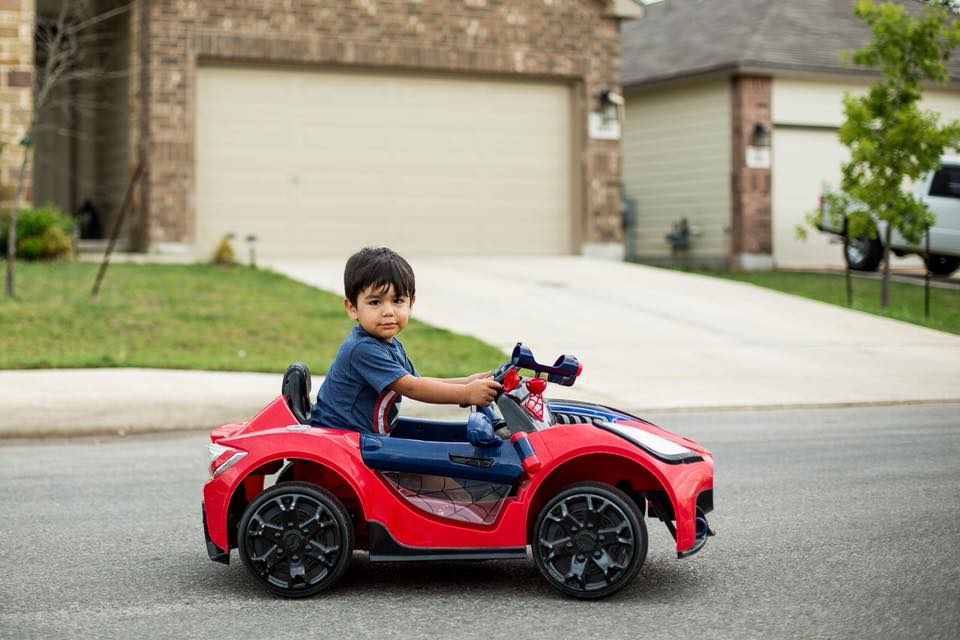
When working in portrait mode, it works best with one subject, but can work with multiple. Also, it works best when your subject is still (which is sometimes impossible with toddlers). The following photos were taken with my iPhone 8 Plus on portrait mode. Ethan is getting better at posing for photos. For toddlers who are on the move, you may have to use your camera without portrait mode.
If you don’t have access to portrait mode, you can use any smartphone. To get that bokeh effect, the key is still to get close. By getting close, I do not mean zoom in. Physically move the camera close to the subject.
By getting close, this creates a shallow depth of field — the distance between your camera and the subject.
This same principle applies with a professional camera. If you have a DSLR and want more information on how to get this effect, leave a comment below and I’ll make sure to add a more detailed post.
Editing on Instagram
Instagram is a great, easy-to-use tool to edit your photos. When I say edit your photos, I do not mean use a filter. This is one option, but I’m talking about the editing tools available.
The main tools I use in Instagram are:
- Brighten
- Contrast
- Shadows
- Sharpen
Many times, lighting isn’t the best, and using the brightening tool in Instagram can help so much. Don’t rely just on your editing tool; try your best to get in good light.
- The best outdoor lighting is right before sunset.
- When it’s cloudy, this is also a great time to go outside and get photos. Shadows will not be a problem.
- If it’s sunny, try to find shade or put the sun behind your subject to eliminate squinting.
Aside from brightening my photos if needed, I will add a bit of contrast to darken the blacks of the photo.
If needed, I will bring up any shadows. This also helps to brighten the photo if the lighting isn’t ideal.
Lastly, I sharpen my photos to get the subject nice and crisp.

In the photo above, the left is the original. In the photo on the right, I used the jakarta filter in Instagram stories. The reason I like this filter is because it sharpens any photo you add it to. To me sharpening a photo brings out the eyes, which is the most important part of the subject.
For more blogs like this, comment below on what questions you have or DM me on Instagram.


")