San Antonio Photography: Composition

Even as a photographer, I take more photos of my family with my iPhone because it’s much more accessible than my big, heavy Canon Mark IV. I’m sure you are also reaching for your iPhone to capture those every day, special moments, too.
That’s why I’ve been trying to provide moms with quick tips they can use to take better photos of their family on their phones. Here’s what I’ve written so far:
- Editing tips for Instagram
- Indoor photo tips
- Tips for shooting the every day stuff
- Tips for shooting your kids and pets
- 3 tips for taking better family photos
Today is going to be about composition.
Composition in photography is how your subject is “placed in relationship to other objects in the image,” according to study.com. In this case, your subject would be your children (or whoever you’re photographing).
To make it really simple, here are two ways you can place your subject in the frame:
- Centered
- Left or right
The “frame” refers to the outside rectangle. To change the placement, simple move your iPhone so your child is centered or more off to the left or right. The iPhone has a grid in camera mode to help position your subject.
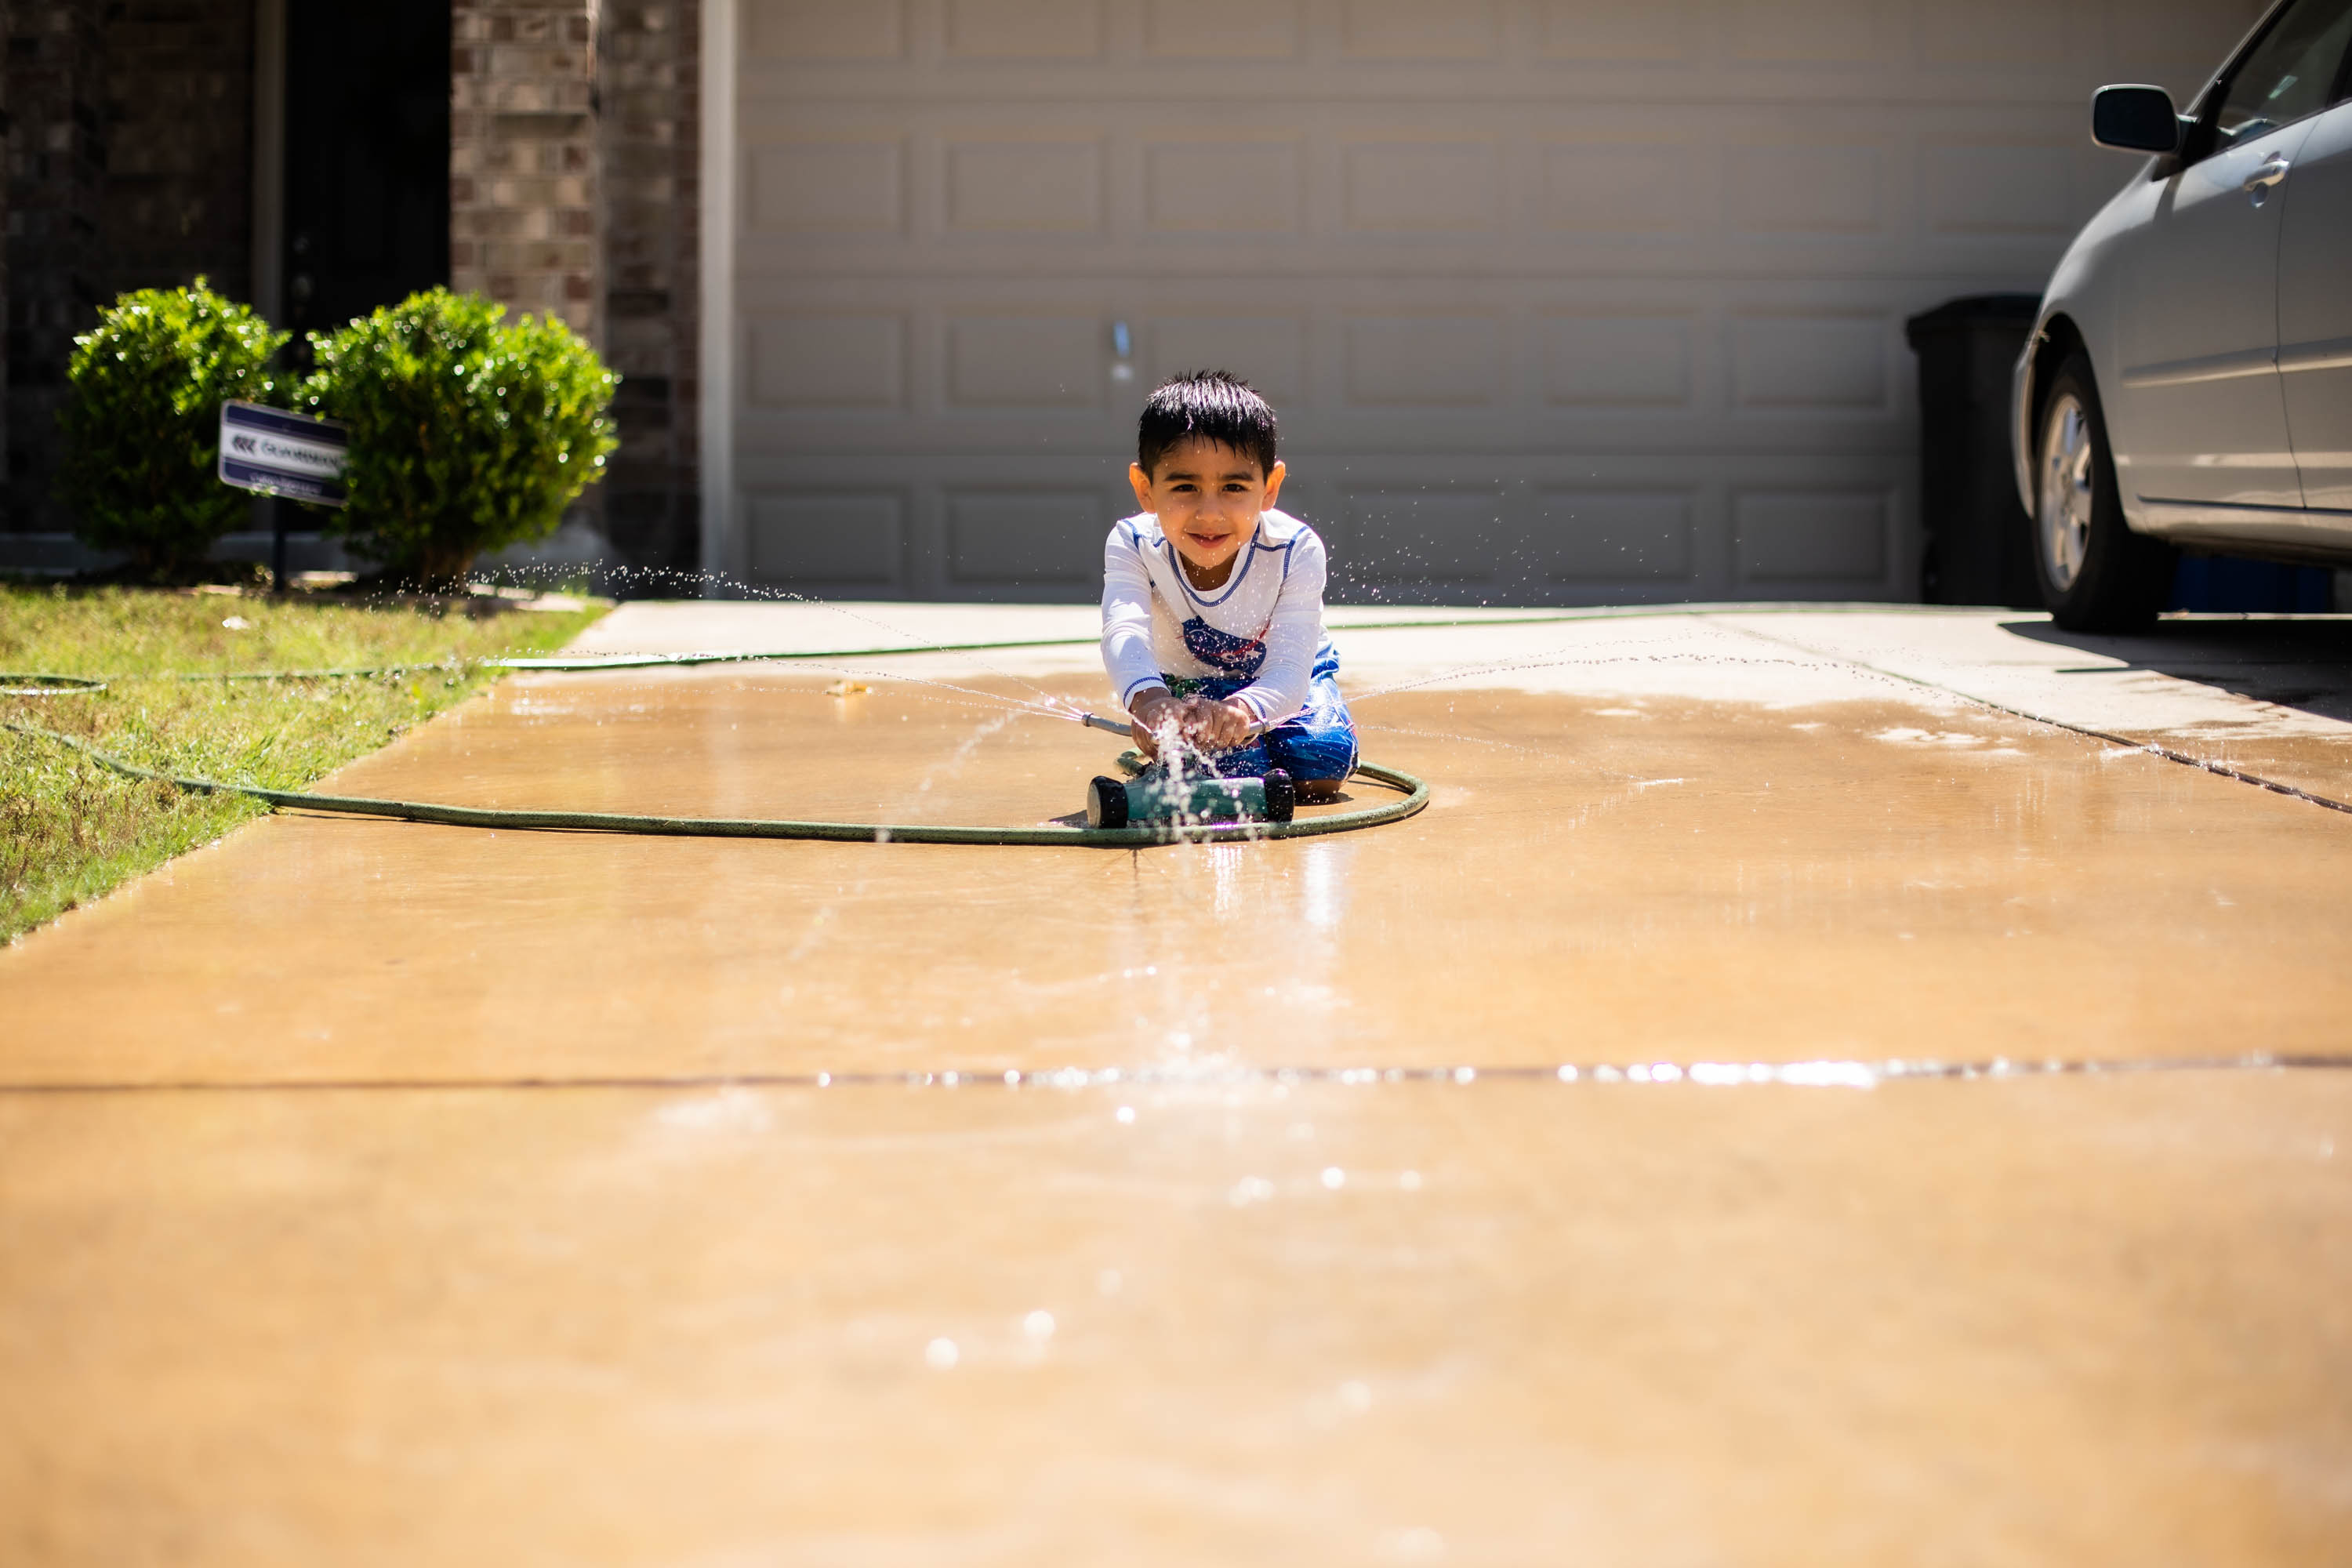
Centered Composition
I tend to center my subject especially if it’s one person in the frame. I learned in school that the “preferred” composition is to follow the Rule of Thirds, discussed below, but centering your subject isn’t off the table.
I center my subject if:
- There’s only one person in the photo.


2. There are leading lines in the photo that point toward the subject.

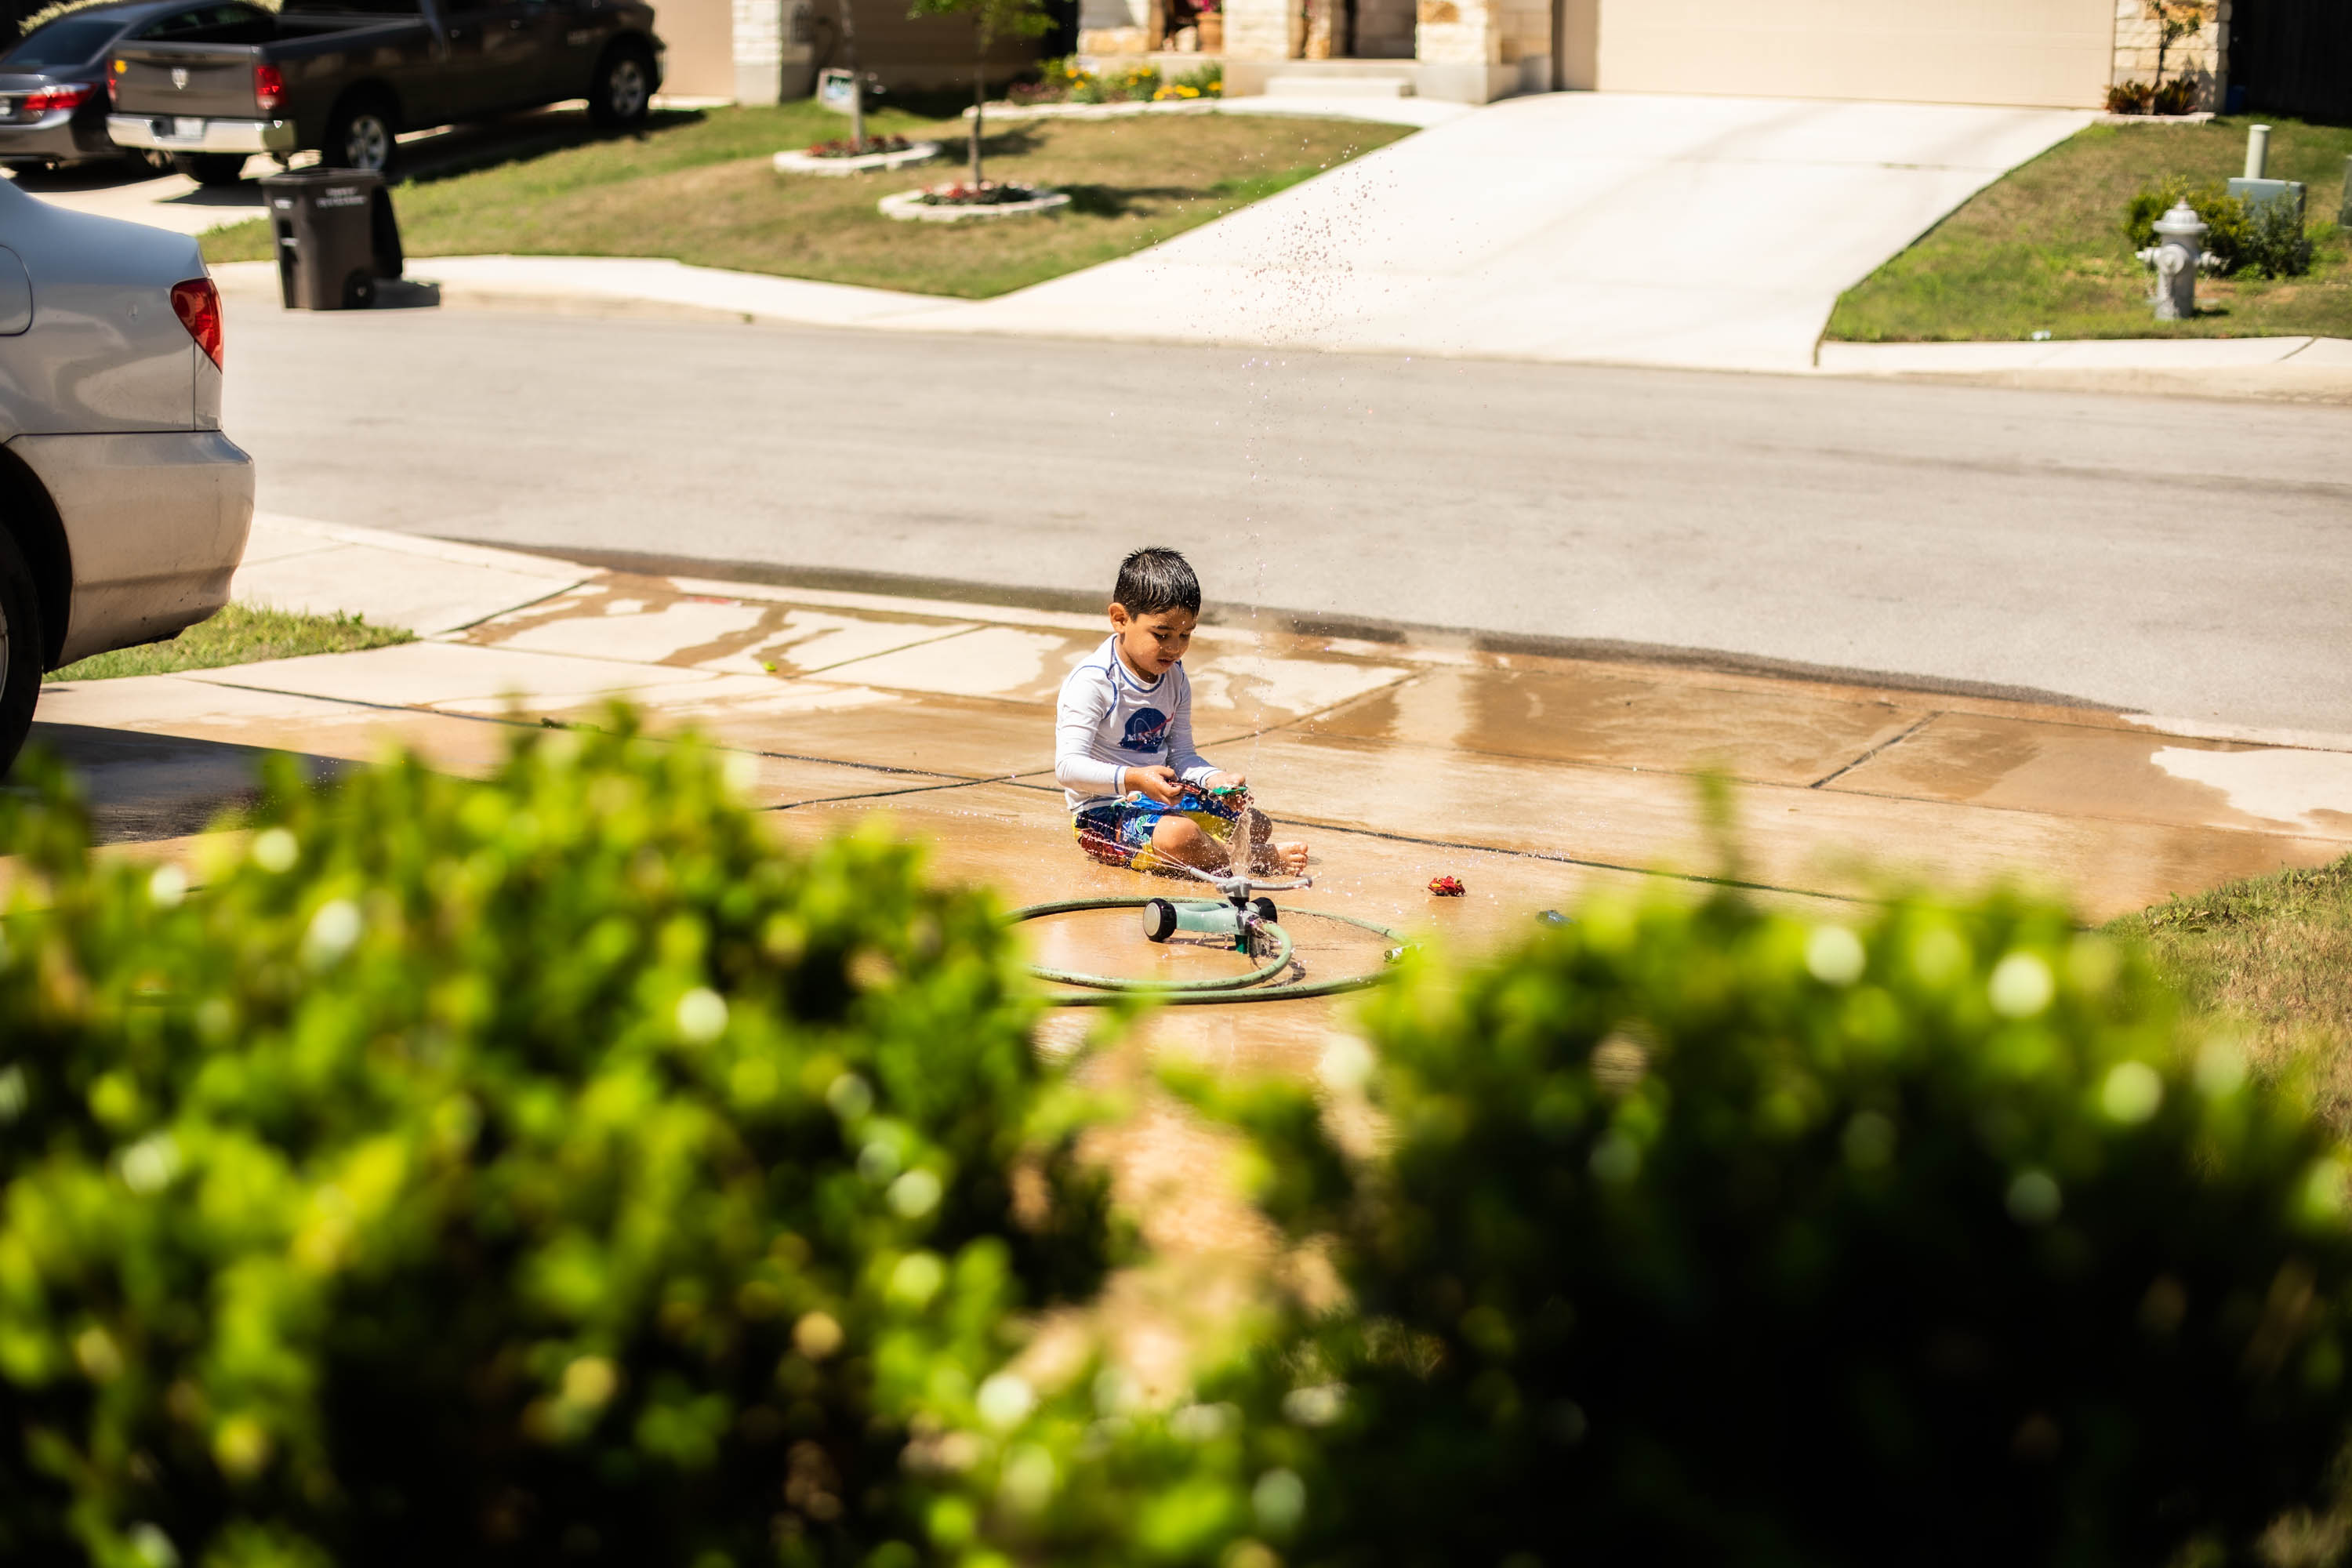

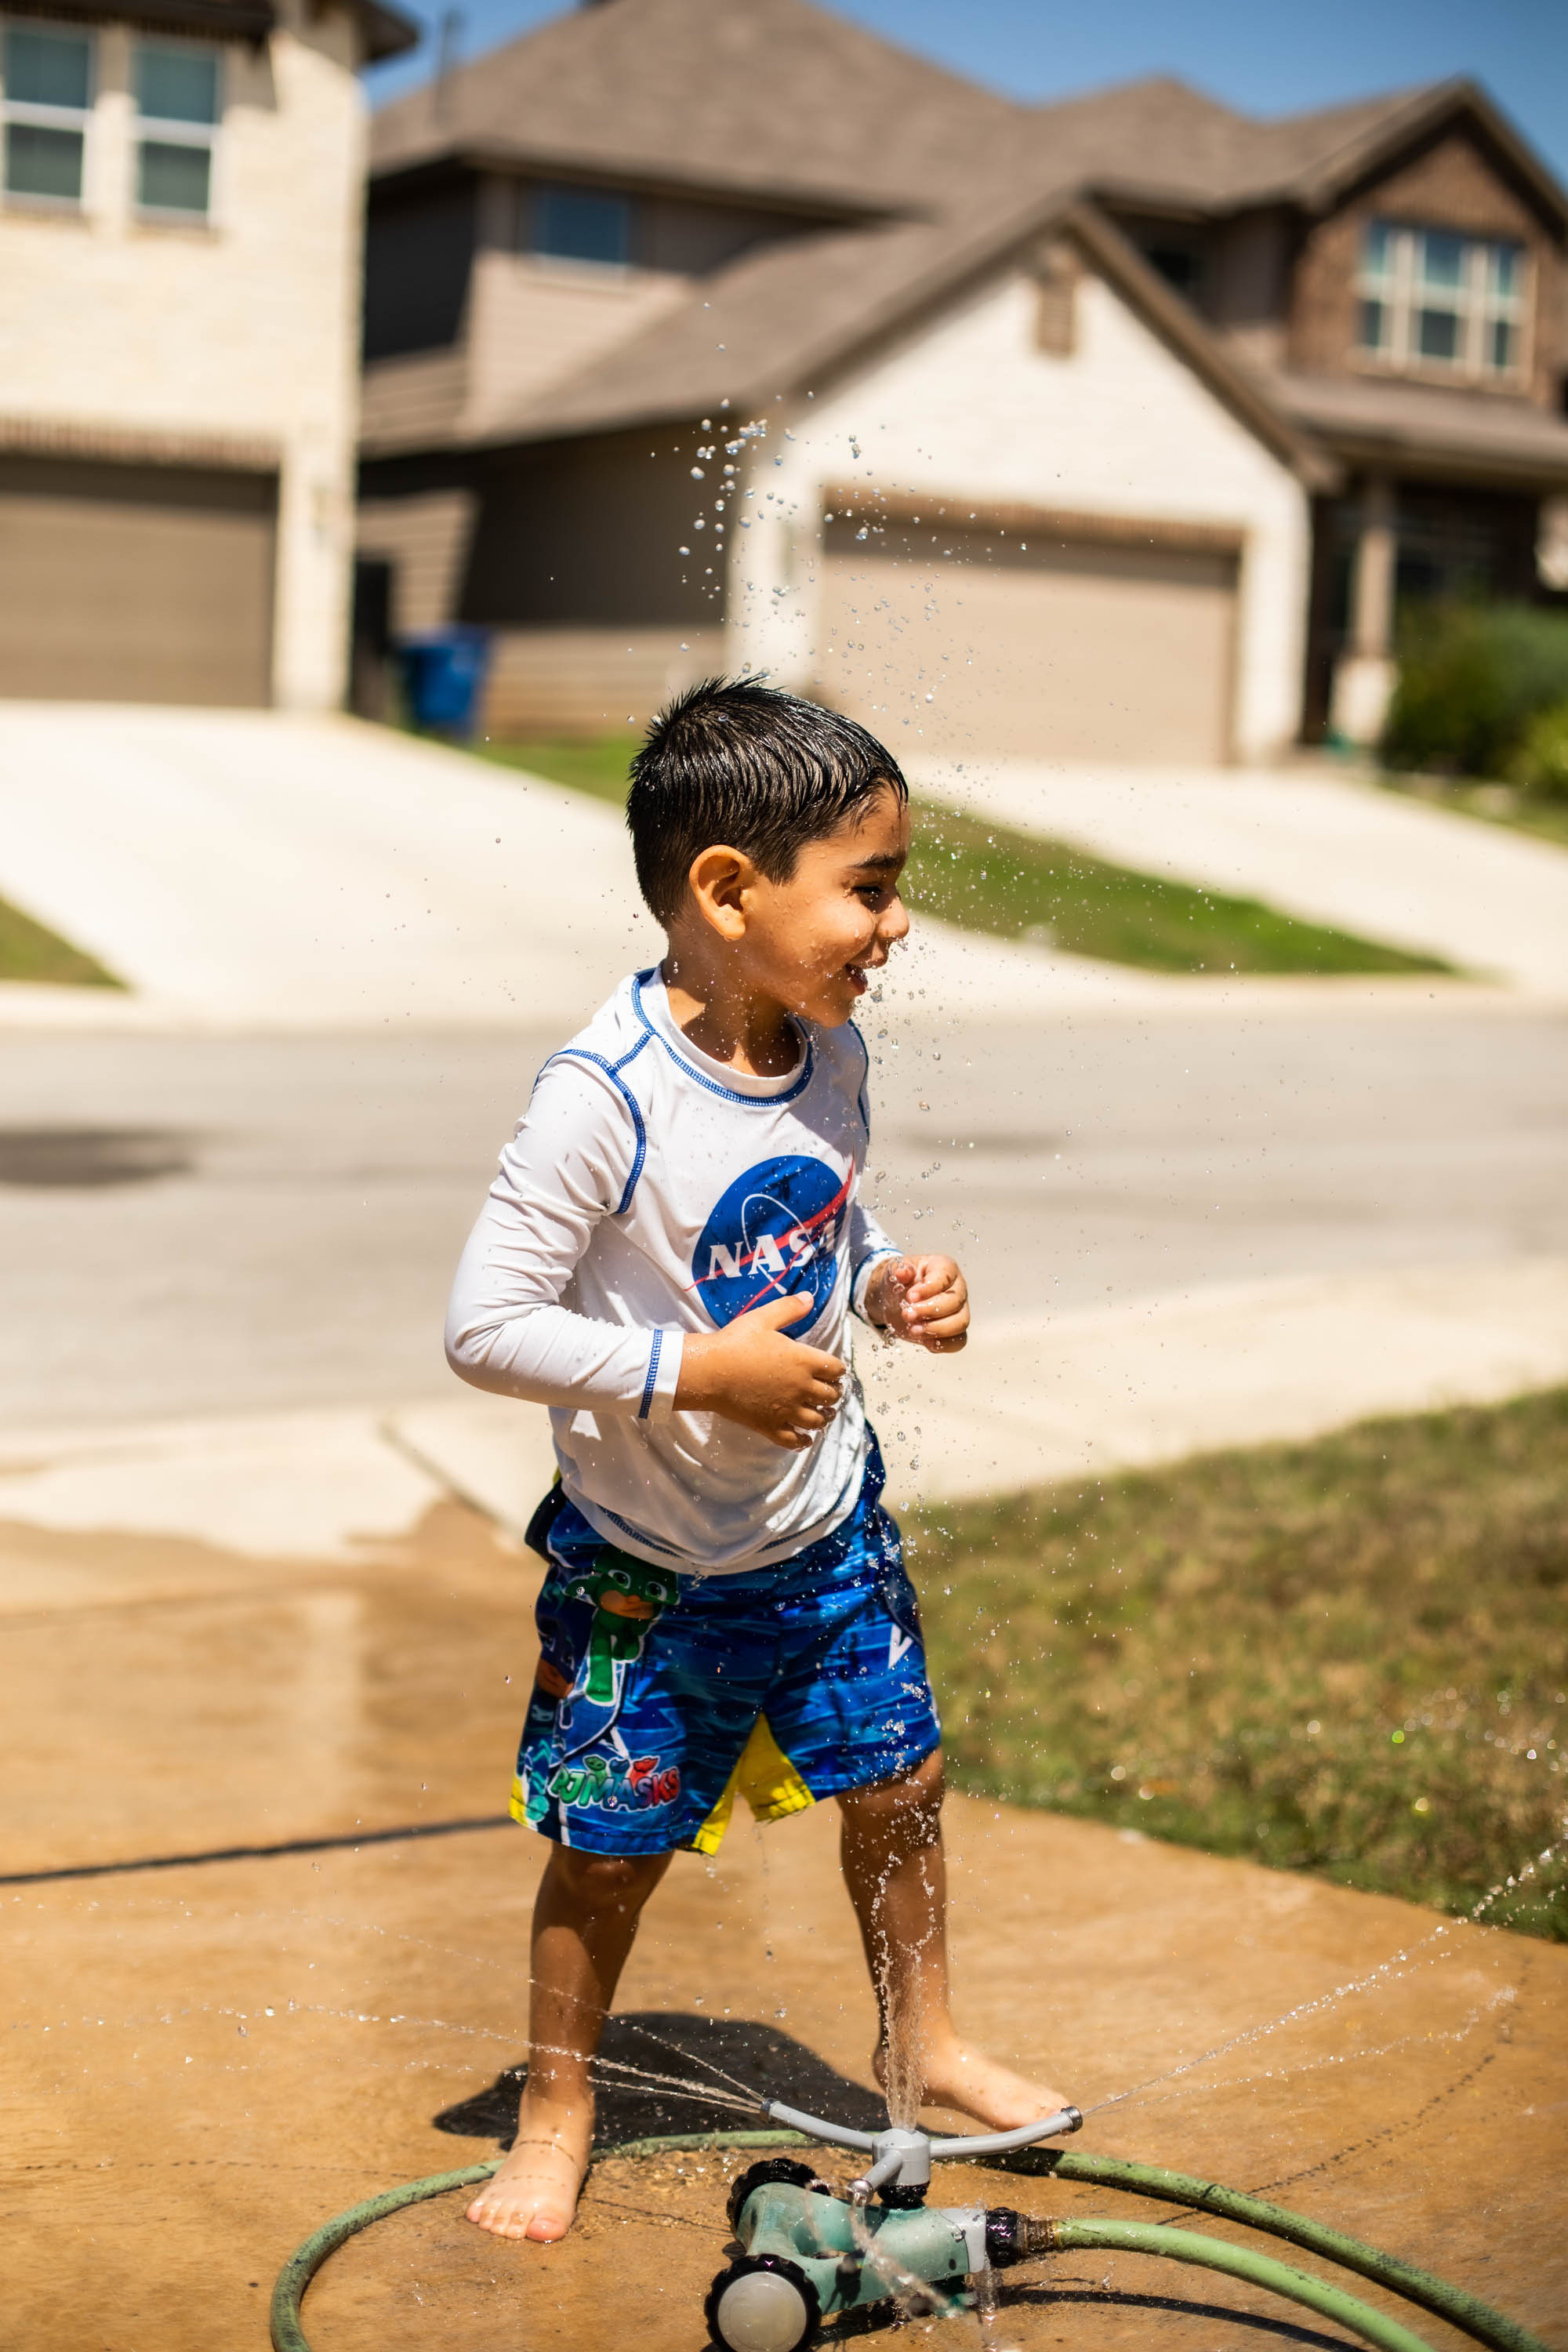
Rule of Thirds
One of the basic photography “rules” (more of a guideline or option) is the “Rule of Thirds,” where your subject is positioned on the left or right of the frame; basically, your subject is not centered.
Should I place my subject on the left or right side of my frame?
It depends.
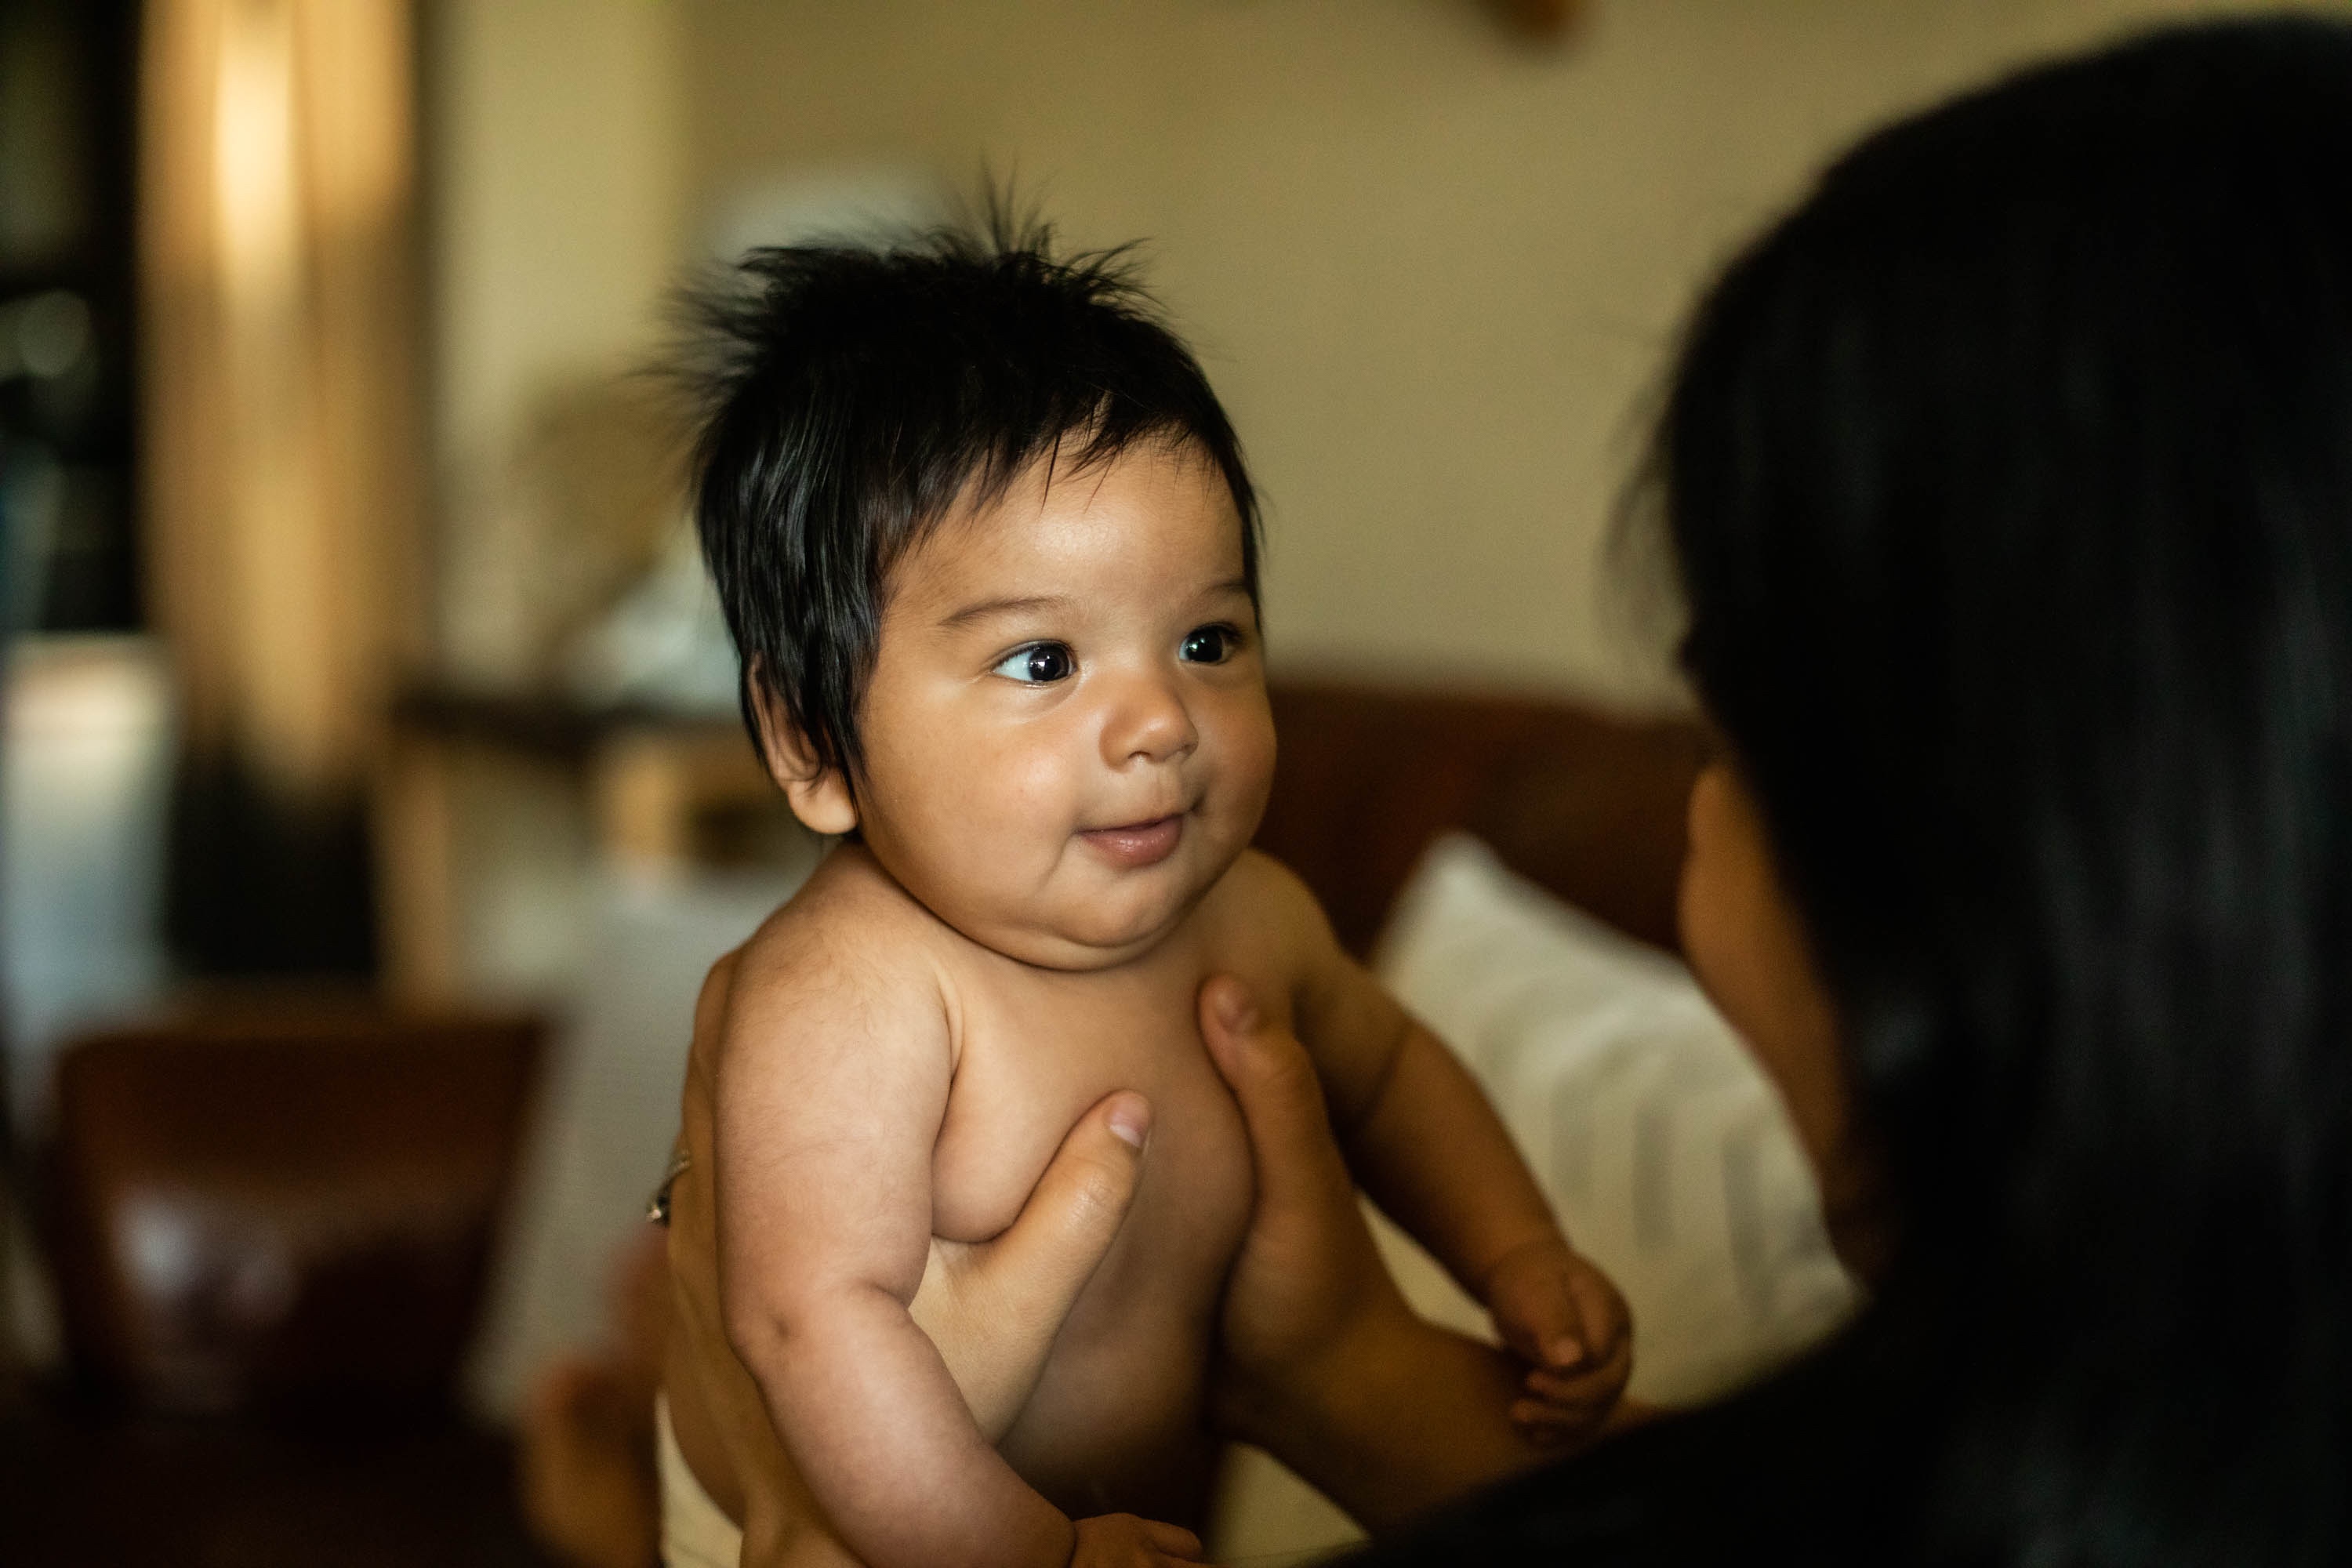
I always put my subject on the opposite side of which way they’re looking. If they’re facing right, I put them on the left. If they’re facing left, I place them on the right side of the frame.
This provides space between the subject’s eyes and the end of the frame. Here are some more examples:

Simple Composition Improvements
#1

My friend Alyssa sent me these photos of her son, Ezra. I want to show you a few things I would tweak to improve them. (I will say that my friend Alyssa has been doing such a great job taking photos of her son in portrait mode on her iPhone! Good job, mama!)
- The photo on the left (above) show one of my common mistakes: We as parents often take photos of our kids from our level looking down on them. In a recent blog, I recommend getting low on their level. She did this in the photo on the right! Yay!
- The photo on the right (above) just needs a simple composition tweak! Move the camera to the left just a tad, so Ezra isn’t centered. This would put him on the right looking left. Correcting this would follow the Rule of Thirds. *If he was looking at the camera, centering him would be OK.
I hope this makes sense!
#2
If I want to get in the frame with my boys, I have to ask my husband, and he is such a good sport. I’m so grateful he has learned the basics of using my camera so I can have photos of me and my kids.
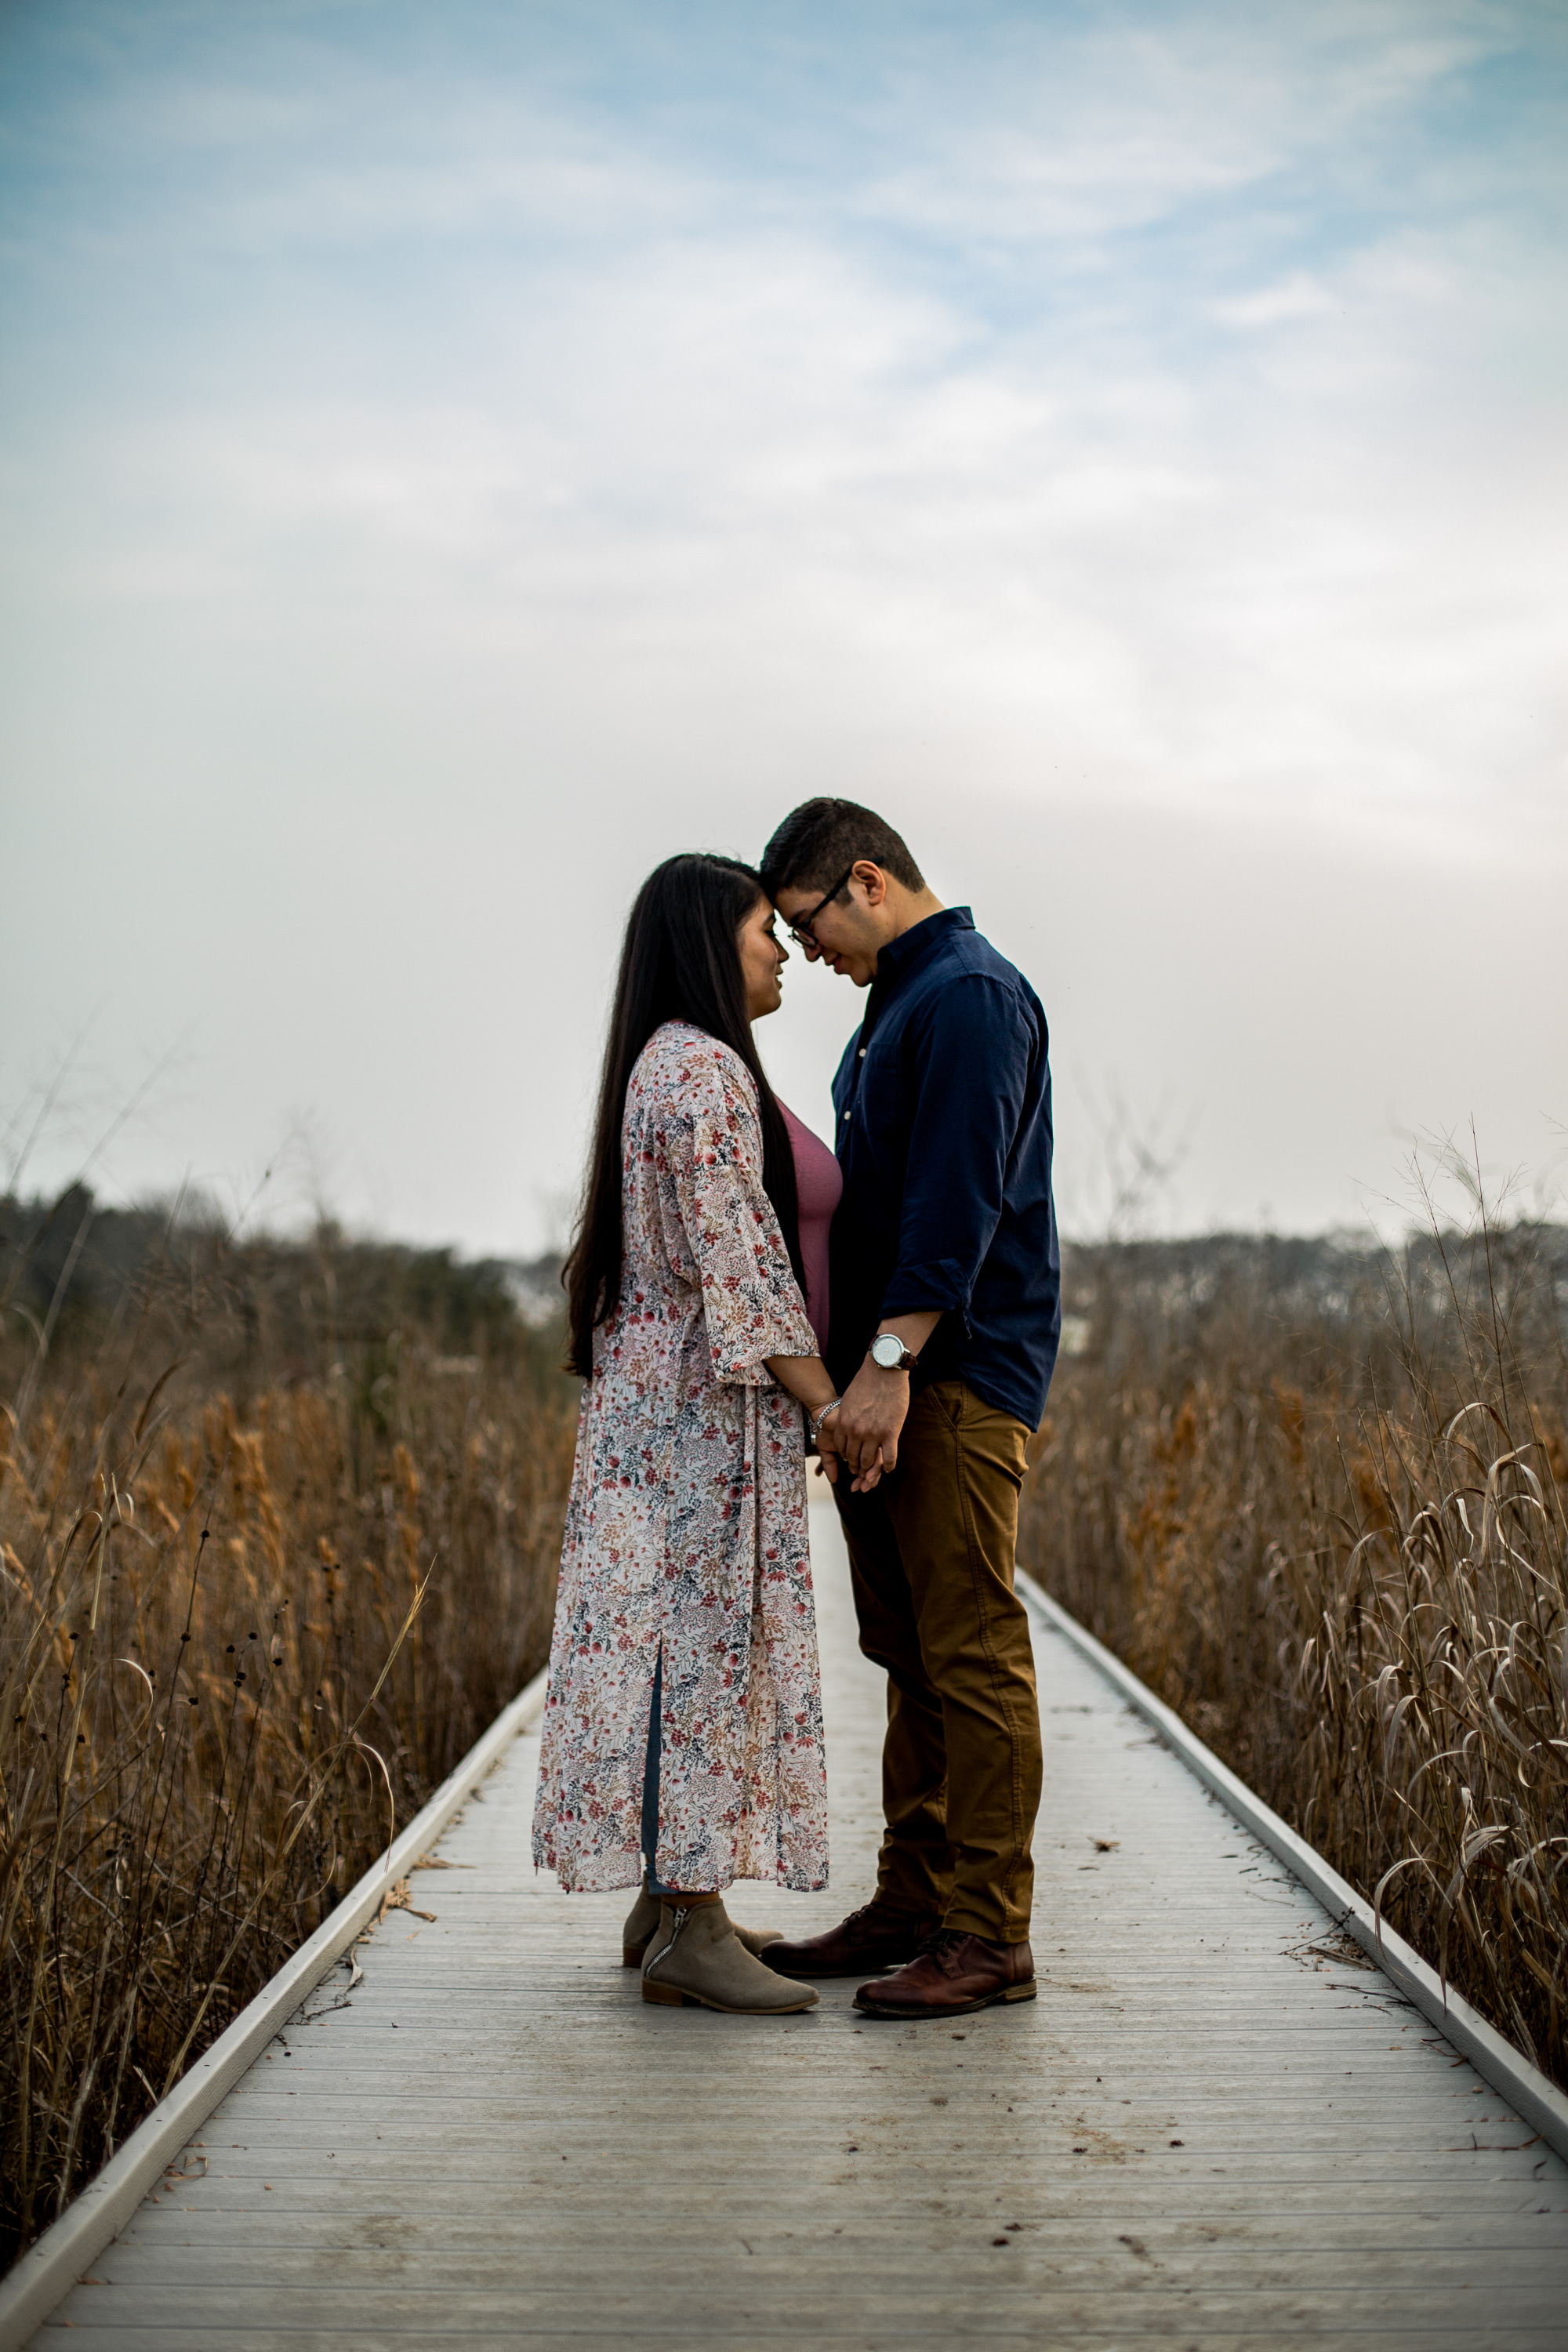
But…. he isn’t so great at composition, as I’ve told him. Here’s an example where I would have placed me more to the right side of the frame (because I’m facing left).
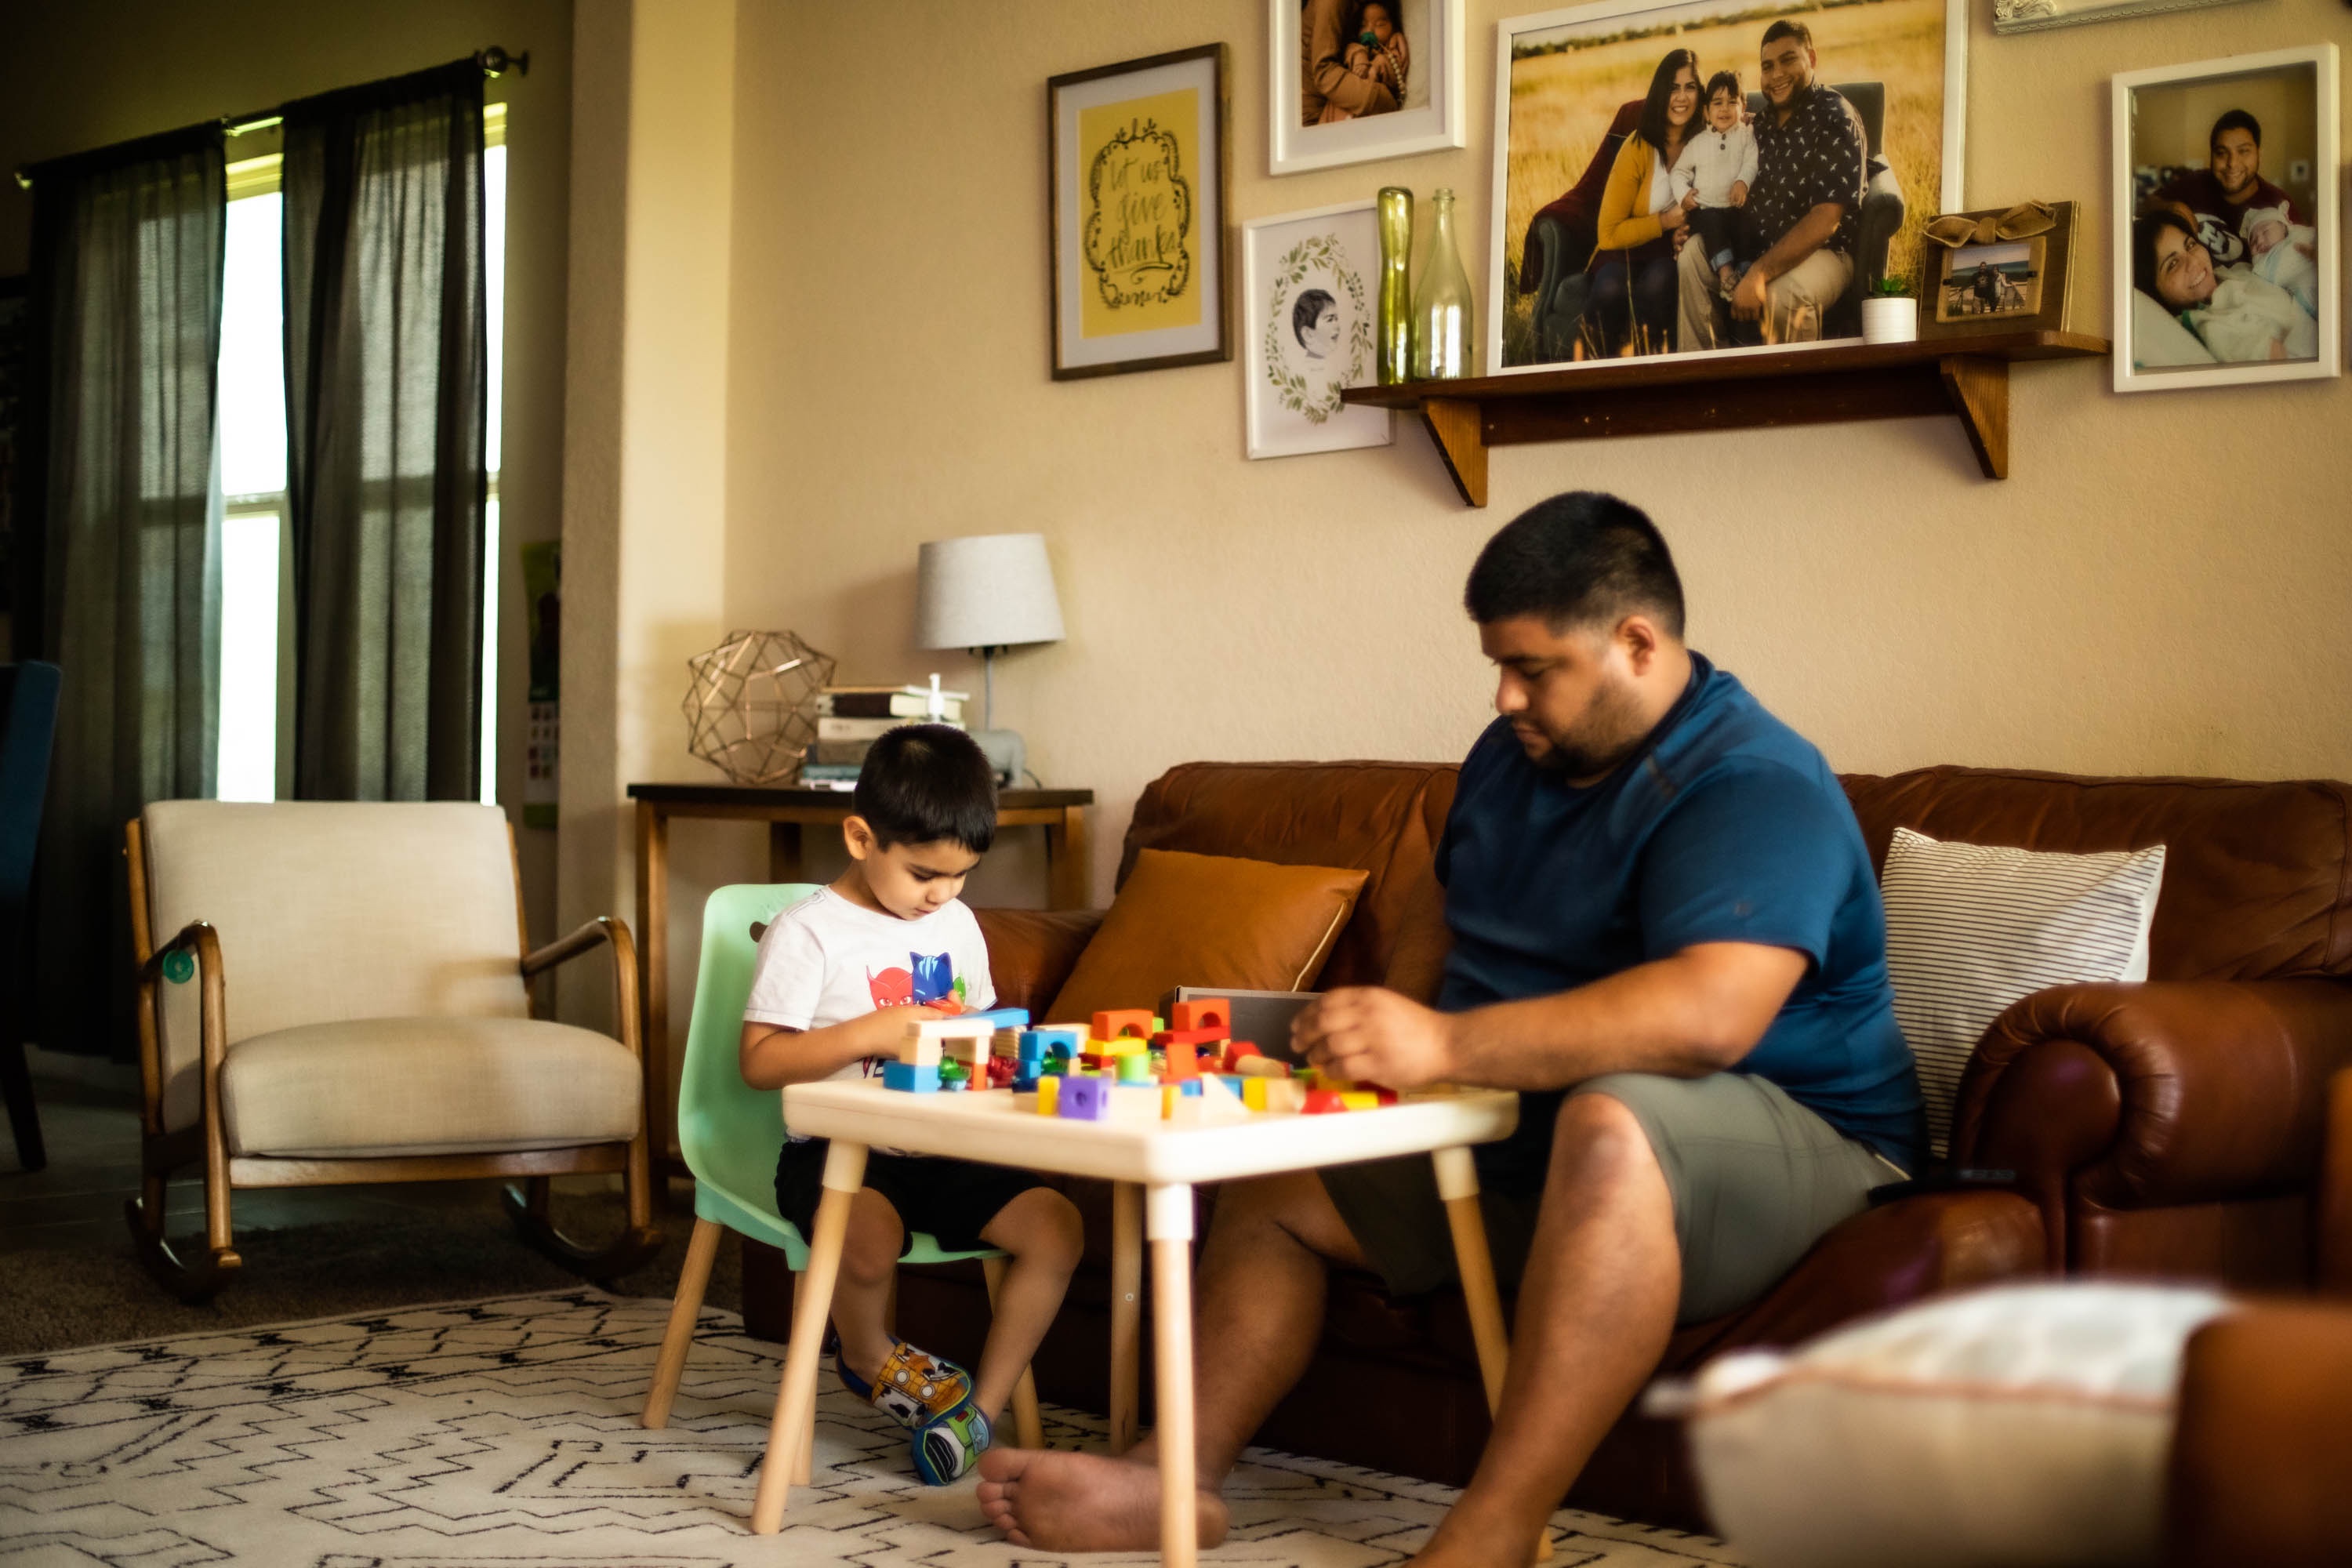
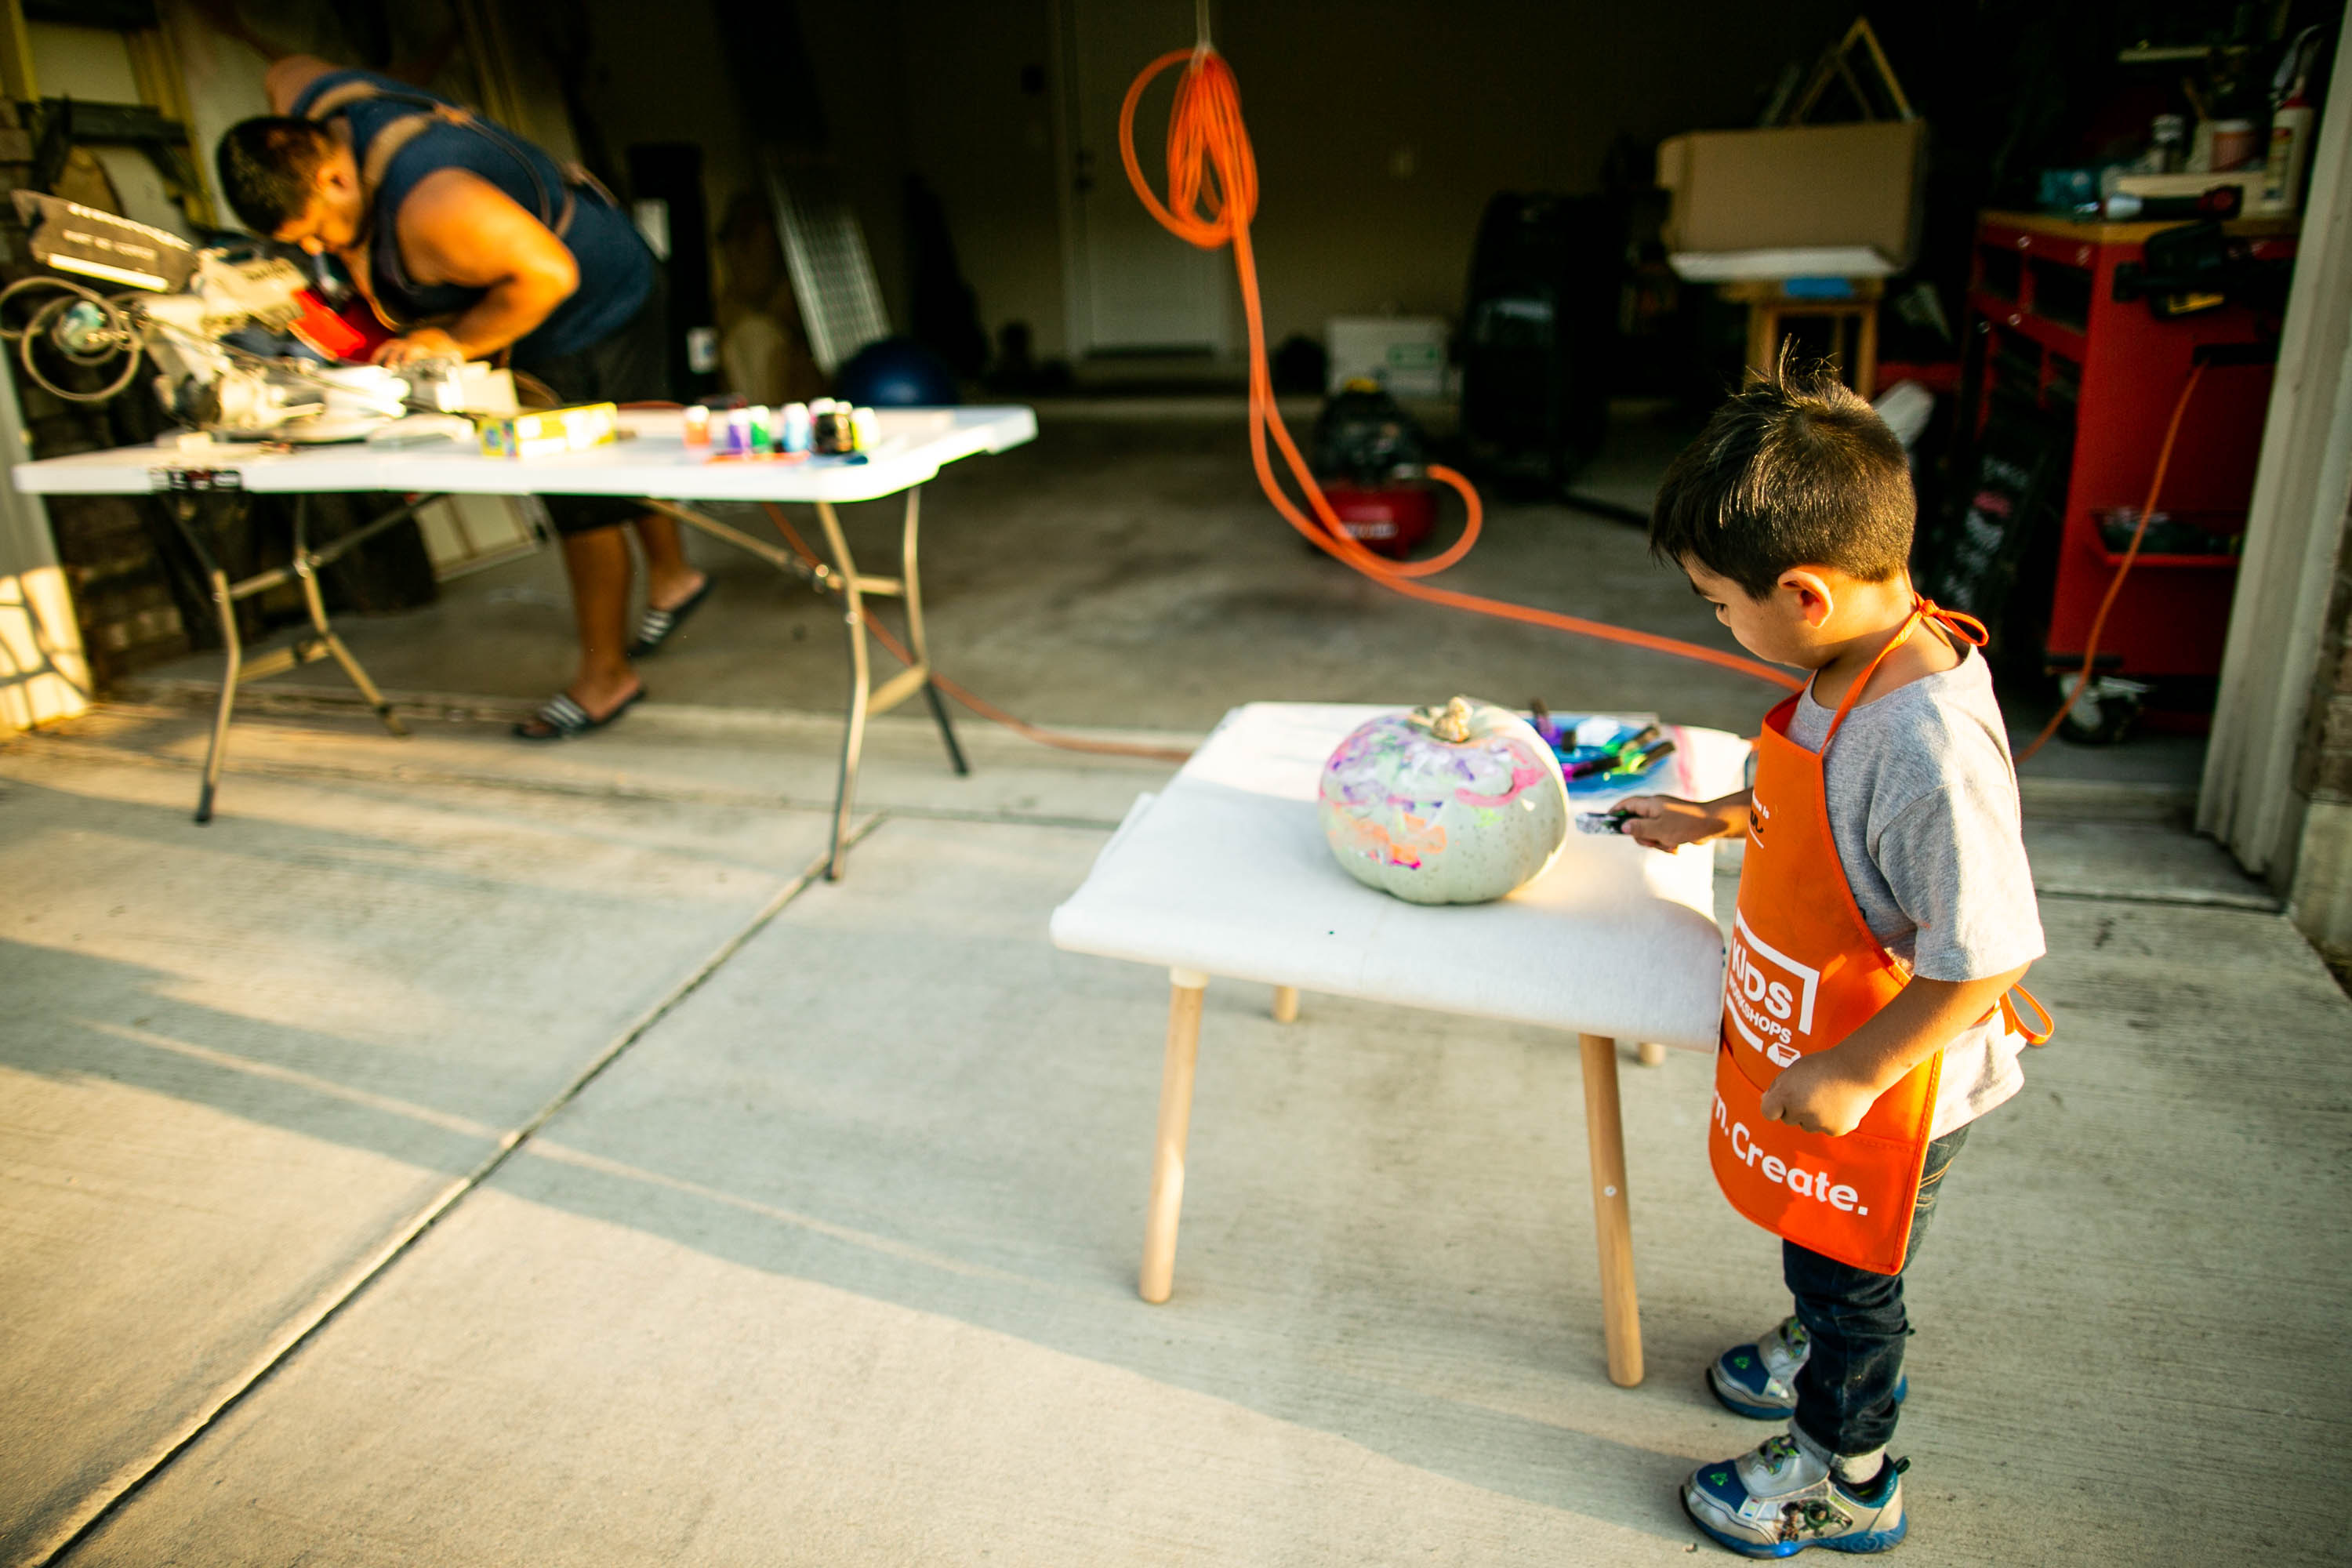
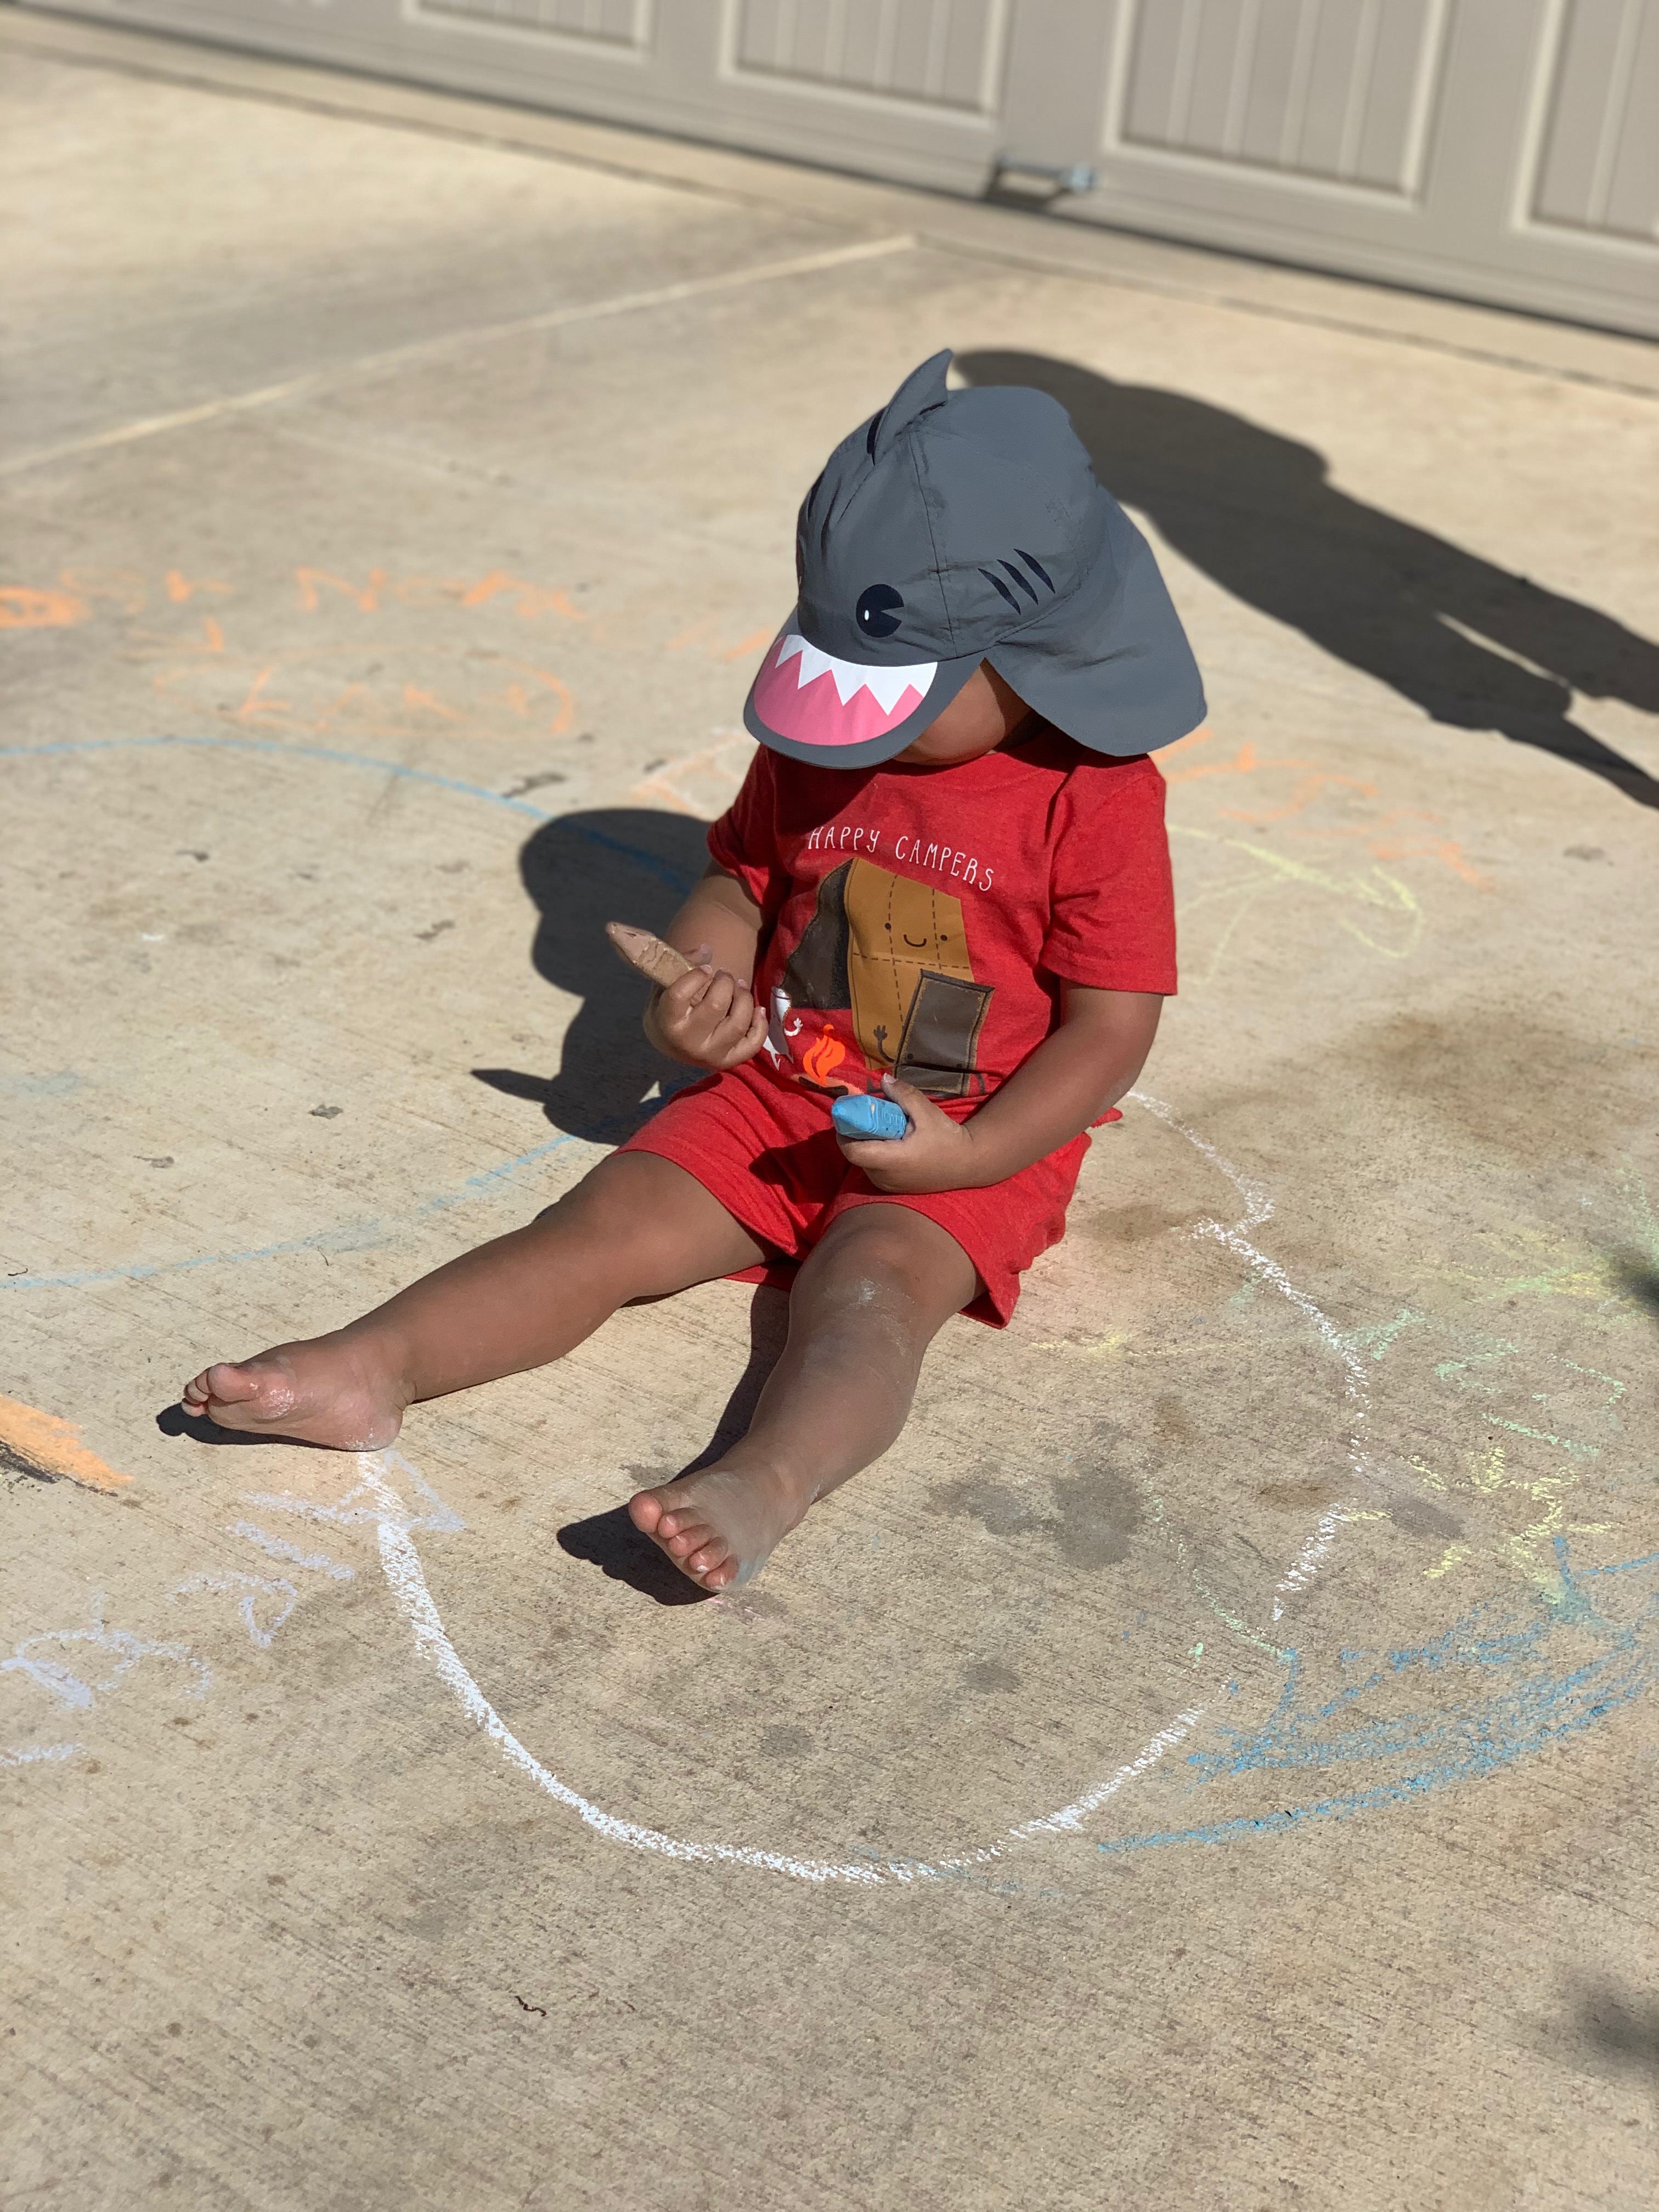
Here are a few more examples of centered composition from my own photography:


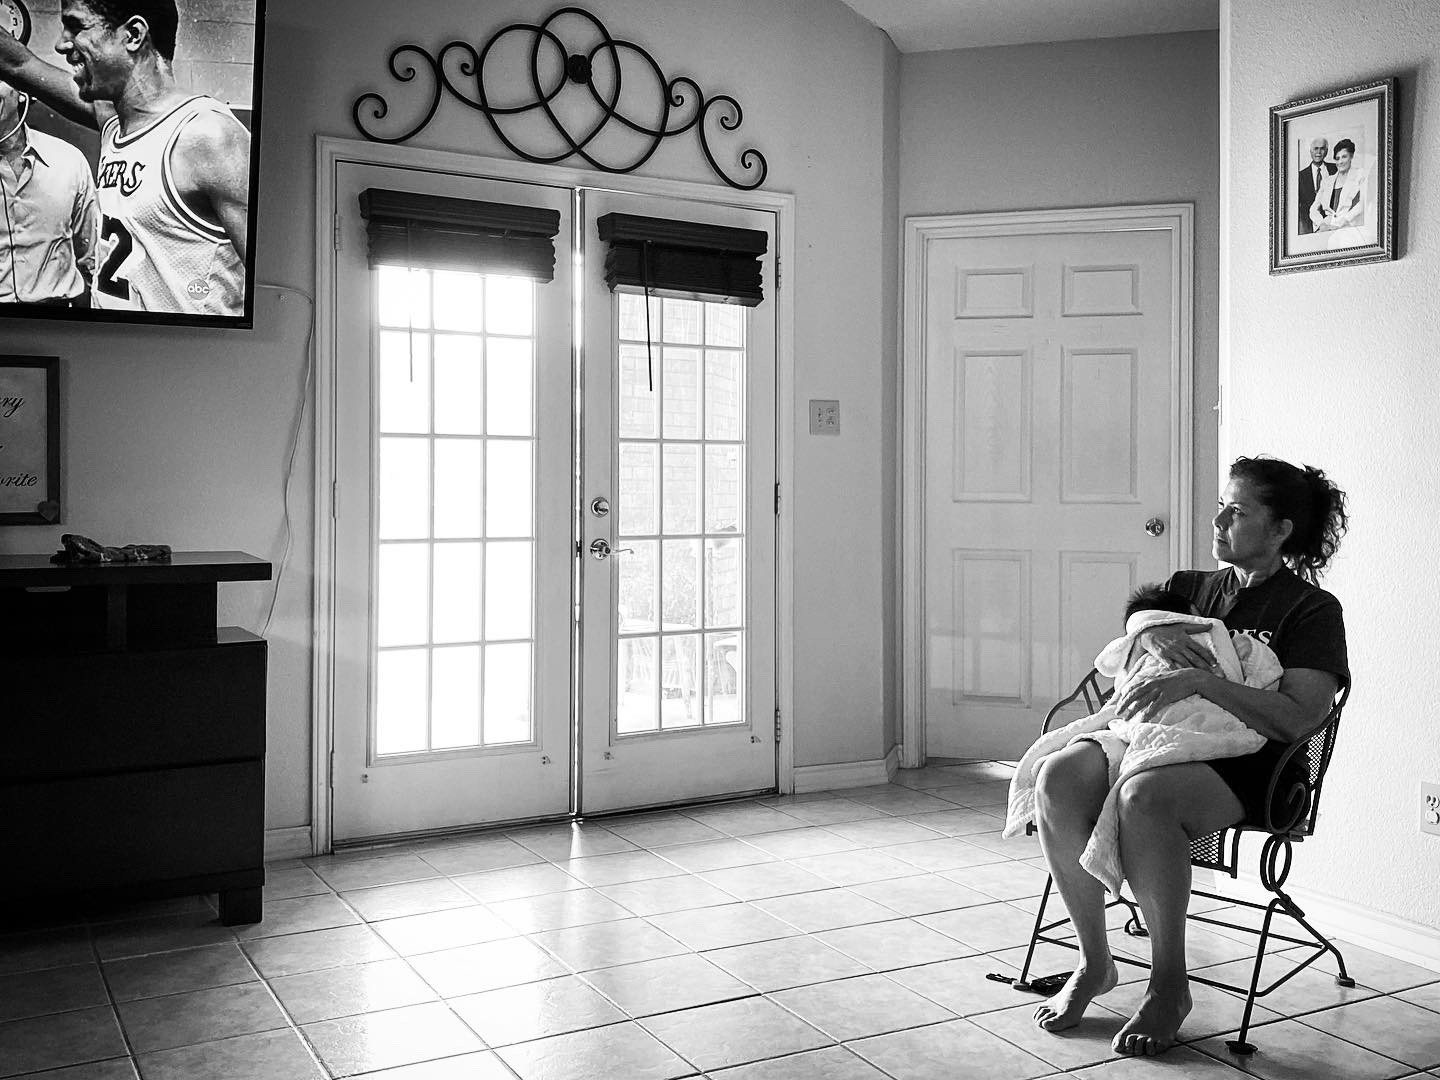
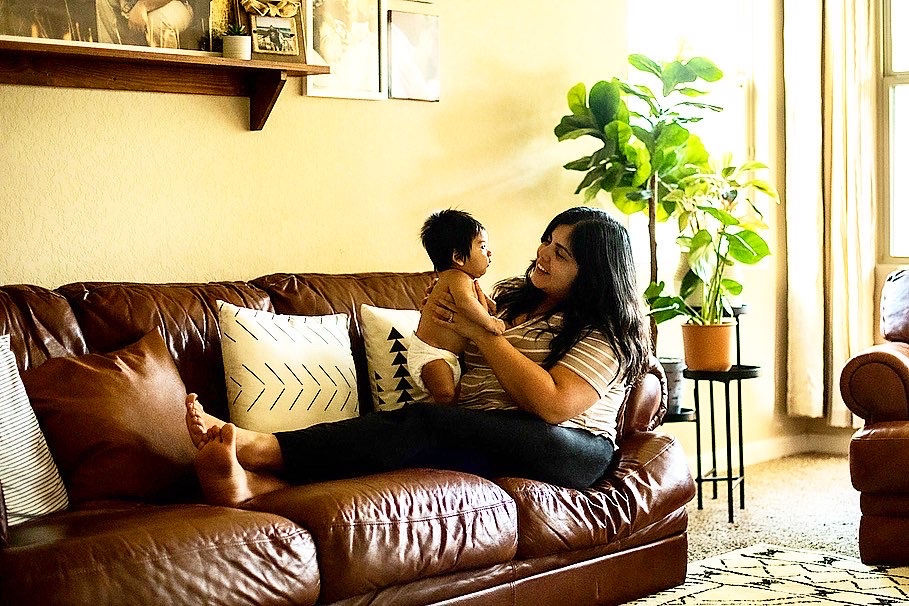
Here are a few more examples of off-centered composition from my own photography:


If you have any questions, feel free to email me at mcphotographysatx@gmail.com or DM me on Instagram!


")